

2.1 Lesson Task
Part 1-3
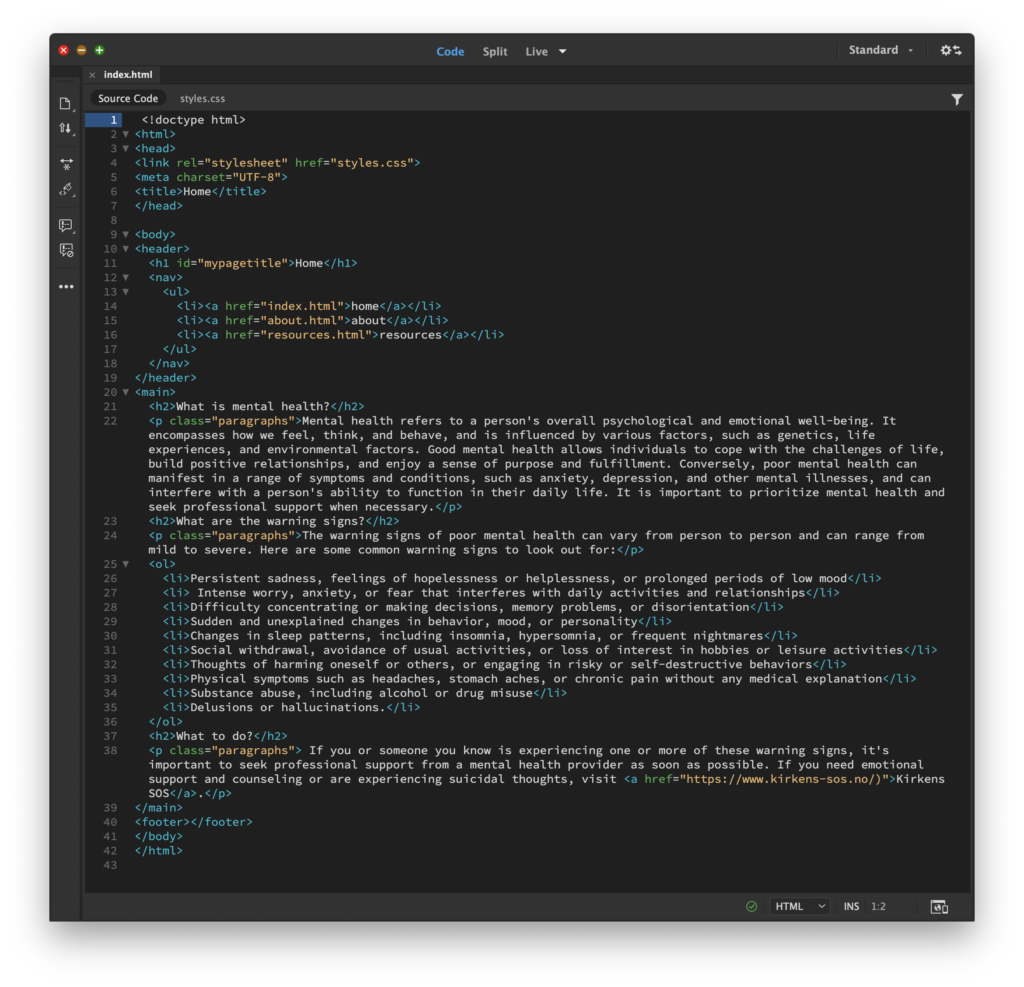
Completed in Dreamweaver. See screenshots below.


The exercise asked for creating a ruleset for:
- The <h1> element;
- The section with the unique ID;
- The <p>, <ul> or <ol> element with a class assigned to it.
Because I created the unique ID for the <h1> element earlier in the exercise, I decided to create a ruleset for the <h2> elements instead.
The point of this exercise was just to understand how CSS works, not to visually style yet. 🙂
2.2. Lesson Task
Part 1
Instructions:
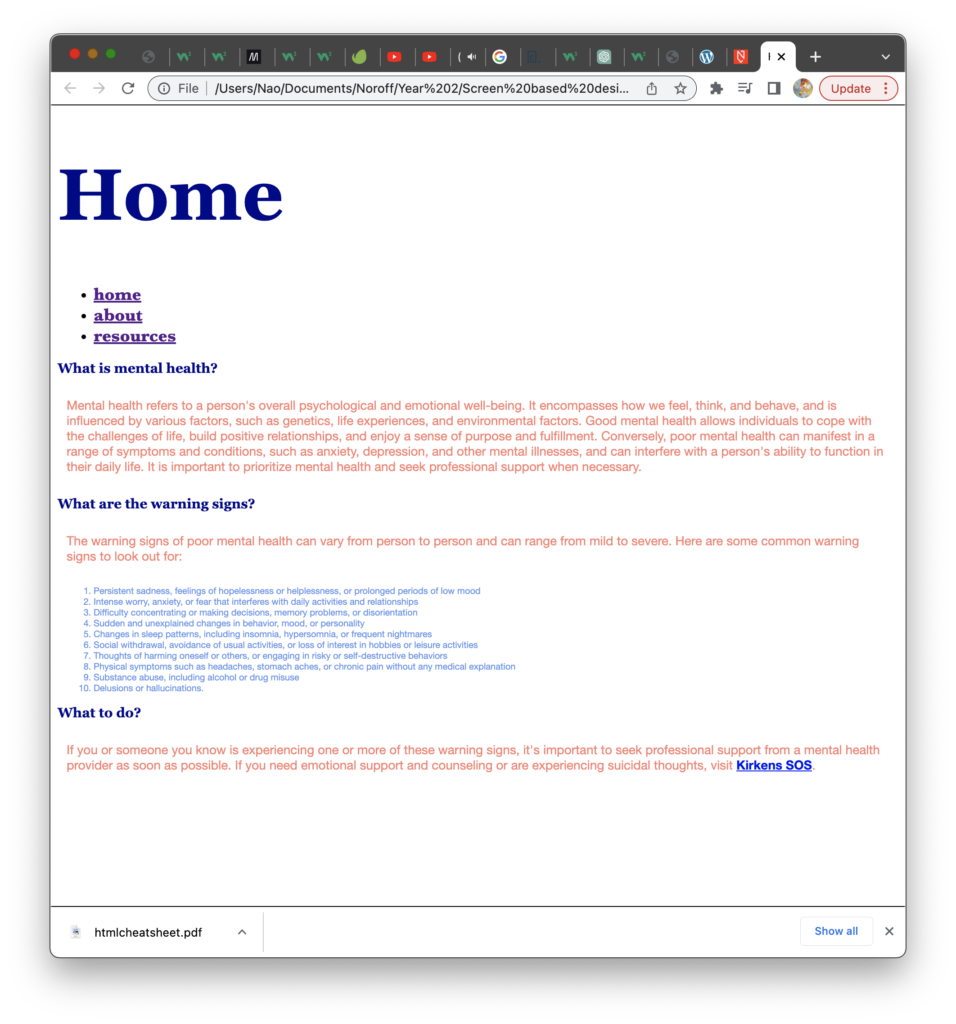
Using what you’ve learned about general and more specific styling, apply a style to all text inside the <body> of the html document. You can use any property, but some suggestions are different web-safe fonts like in the lesson example, a text-decoration, font style or a colour property.
Using a descendant selector, specify a different style for the links inside the list items of the navigation. Test to see if the link items render differently than the general body text in the browser or result view.
I’ve also played with the main section and the link inside the last paragraph.
Screenshots of the HTML, CSS and browser or result:

2.3 Lesson Task
Part 1
Instructions: for this lesson task you can continue to use your existing index.html and styles.css files of the previous tasks.
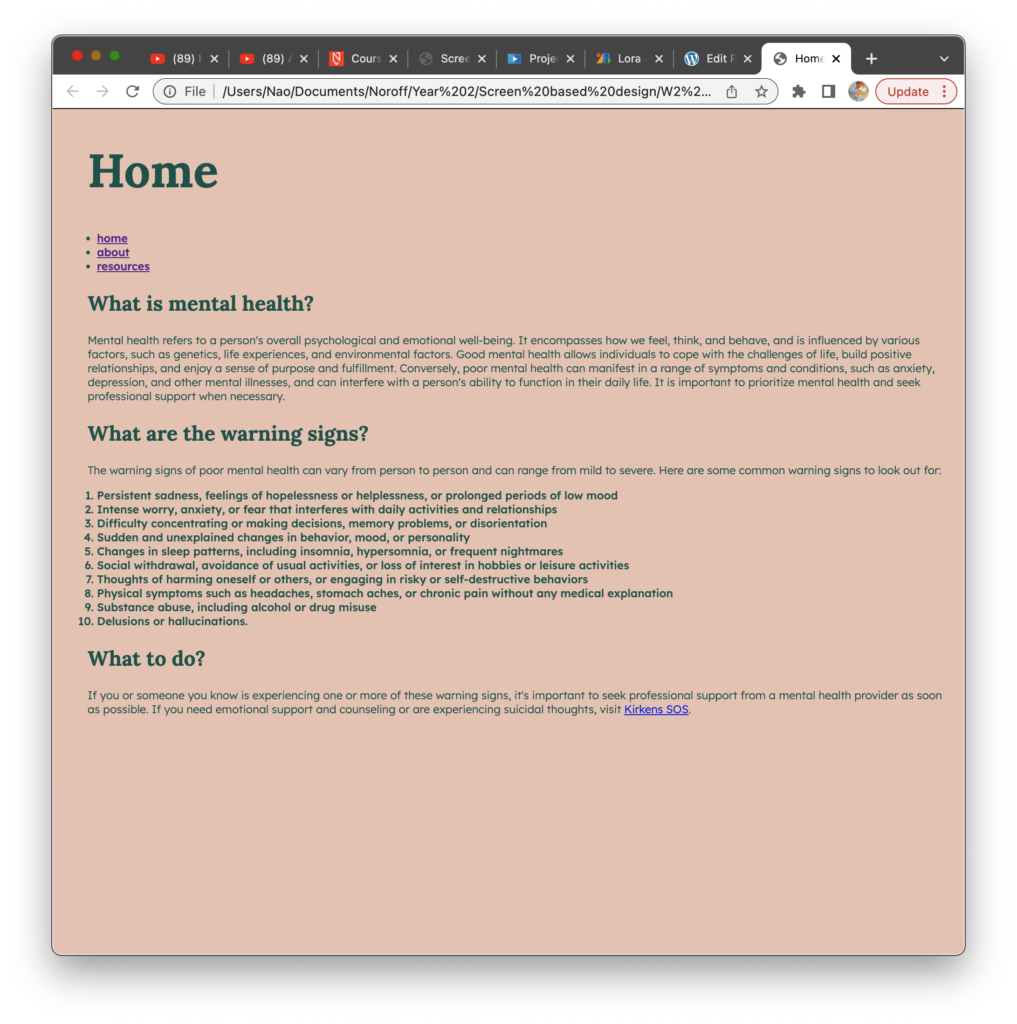
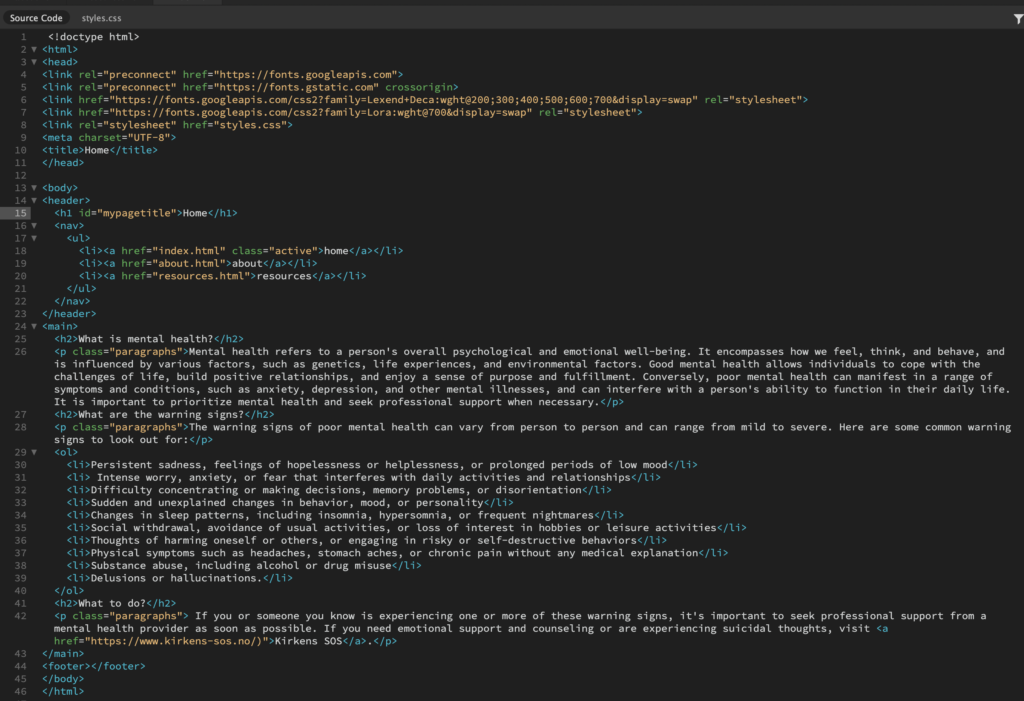
Use an online font library and select a font pair for your project. You need to choose one font to use as a heading font and a different font to use for all paragraph or body text. We recommend Google fonts, but you can use a different library if you want to.
Using the <link> tag method described in the lesson, link the chosen fonts into your project. Create rules in CSS to apply the fonts from the library to create a different font style for headings, paragraph text and list items. The same text styles should apply to all the pages of your website.


2.4 Lesson Task
Part 1
For this lesson task, you need to focus on applying pseudo-classes to the navigation list. Apply a “hover” and “active” state to all the menu items. The styling can be as simple as a background colour, font style or text-decoration.
The hover style must show when you hover over the link with your mouse, and the active state must show on the link when you are on that particular page. For example, the “contact” link in the navigation list must look different to the rest of the links when you are on the contact page.
Take screenshots of your CSS code and also of the browser or result window, showing what the link looks like when you hover over it with your mouse. You also need to show what each link looks like in the active state.
Part 2
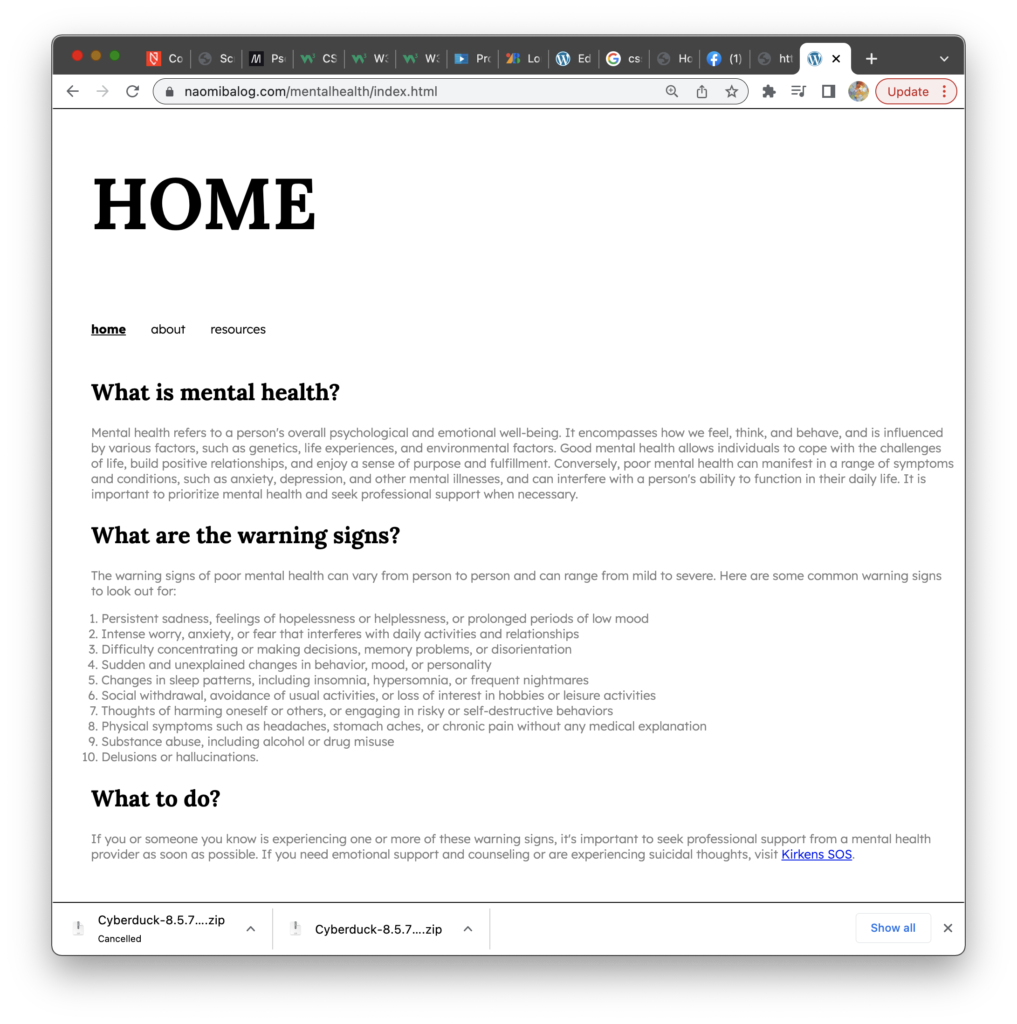
It’s time to put the links to the test from outside your local folder. Upload the root folder containing all your web page files to your host using an FTP client. Once uploaded, check if the fonts load correctly on all pages, check the images and pseudo-classes and check if your page links work properly.
Take screenshots to show your web page loads correctly in the Google Chrome browser. Upload the screenshots with a short description of the process to your blog. If you had to fix any links, remember to also write about your problem-solving.

No responses yet