

1.1 Lesson Task
Part 1
Instruction: Set up a domain.
My domain is this site, naomibalog.com. I am using Blue Host as my hosting provider.
Part 2
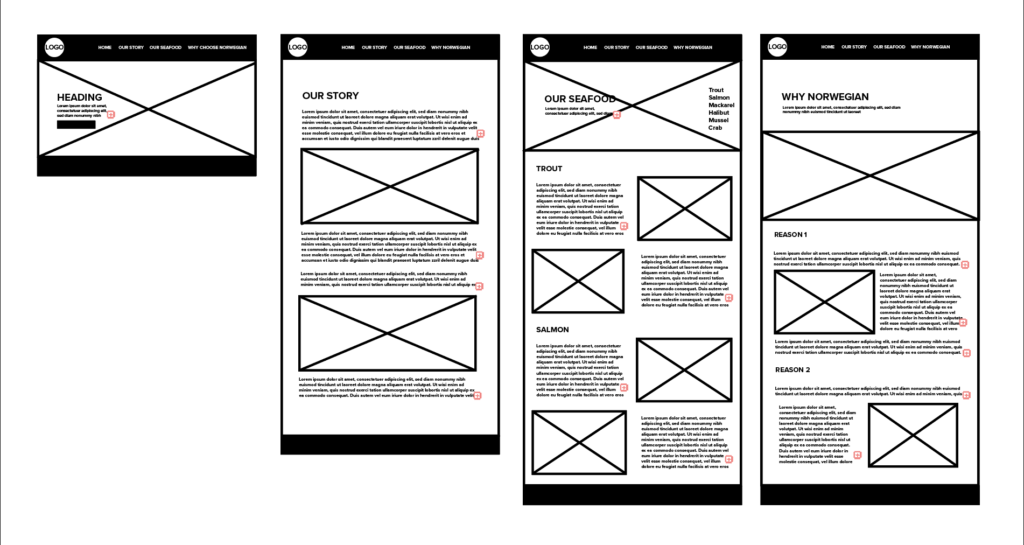
Instructions: The Norwegian Seafood Council wants to promote the health benefits of Norwegian salmon to the local and international market. You need to create an informative website for this purpose. (This is a fictitious client and project).
Create very basic wireframes for the website, showing at least three pages. These can be low tech wireframes that show planning for the page structure and navigation.
Part 3
Instructions:
Create the structure for the HTML files and folders of the web page. Think about the root folder and name the folders correctly. Firstly, sketch out what the structure will look like. Then, set these up, so you are ready to code your website.
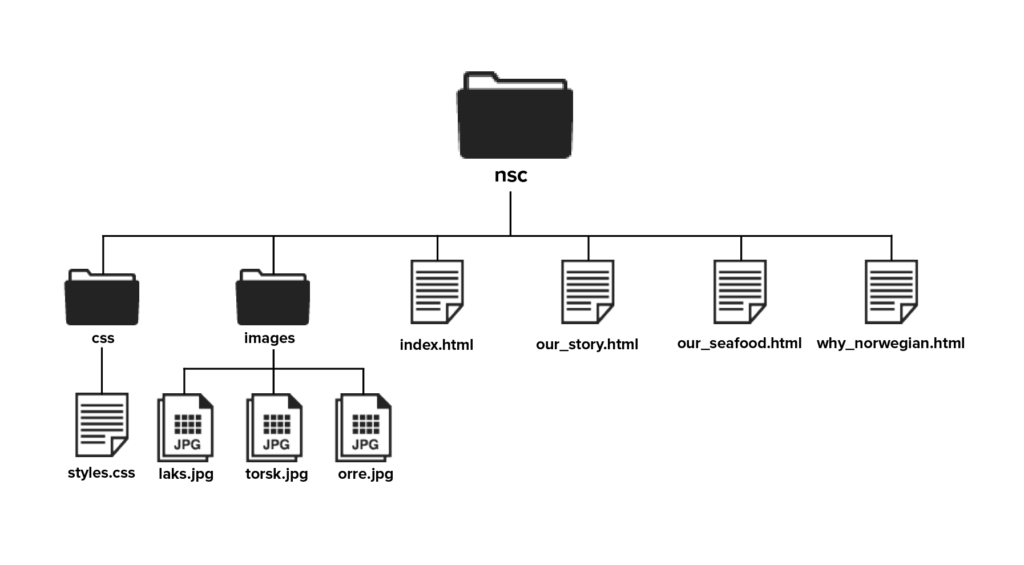
Because the site is for The Norwegian Seafood Council, I named the website folder “nsc”.
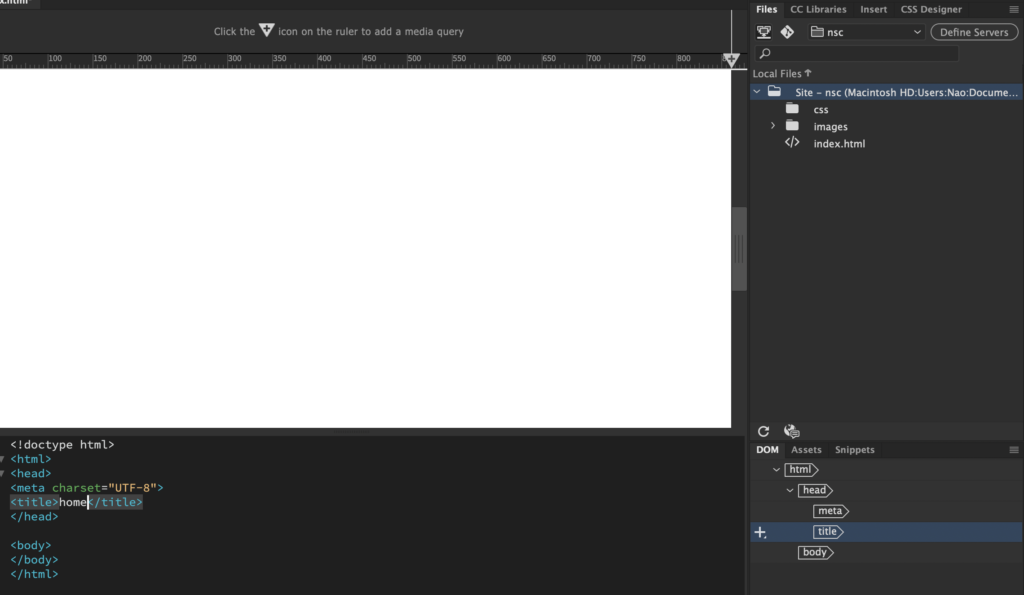
In Adobe Dreamweaver – Create an HTML5 document (framework – none, file name ‘home’)
Save the file as Index.html in the correct folder of the folder structure you created. One HTML document called ‘index.html’ is enough.
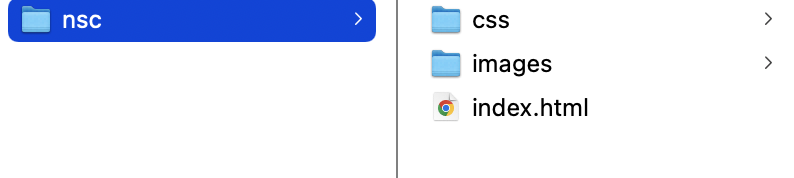
Take a screenshot of the folder and, together with the sketch of your structure, upload it.
1.2 Lesson Task
Part 1
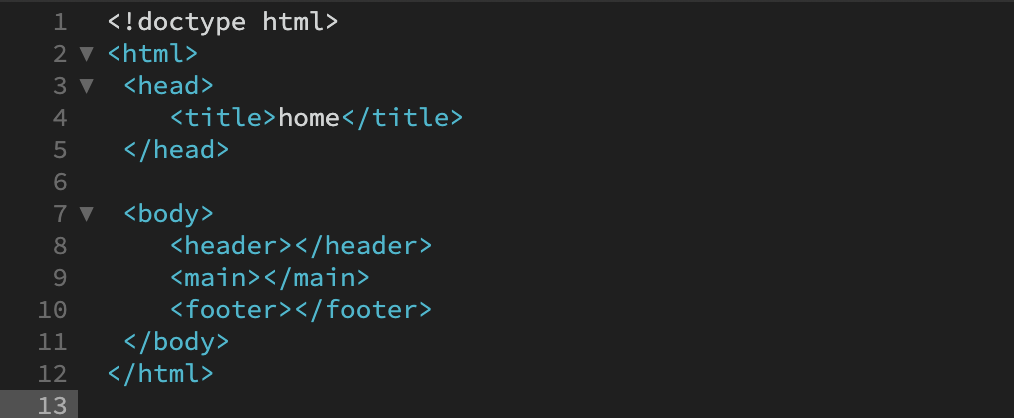
Instructions: In Adobe Dreamweaver, open up the index.html file you created in the previous lesson task and start adding some tags. Take a screenshot of the HTML coded document.
Part 2
Instructions: In one or two sentences, describe the function and meaning of each element and, where applicable, state in which parent folder you are expected to find the element.
- <!DOCTYPE html> – this identifies what type of document it is (an html doc). This should always be on the first line.
- <html> – everything that the document includes will go within <html> </html>, it functions as a parent folder.
- <head> this is where the title goes, but it can also include other metadata – this is not visible for the viewer of the site. This is inside the <html> parent.
- <body> all elements that can be viewed on the site go inside <body></body> – it functions as a parent folder.
- <header>, <main> and <footer> are siblings within the <body> element. They each function as a “child” of “<body>”. Each of these three elements can also become parents.
1.3 Lesson Task
Part 1
Instructions: the following elements should now be added to the HTML document:
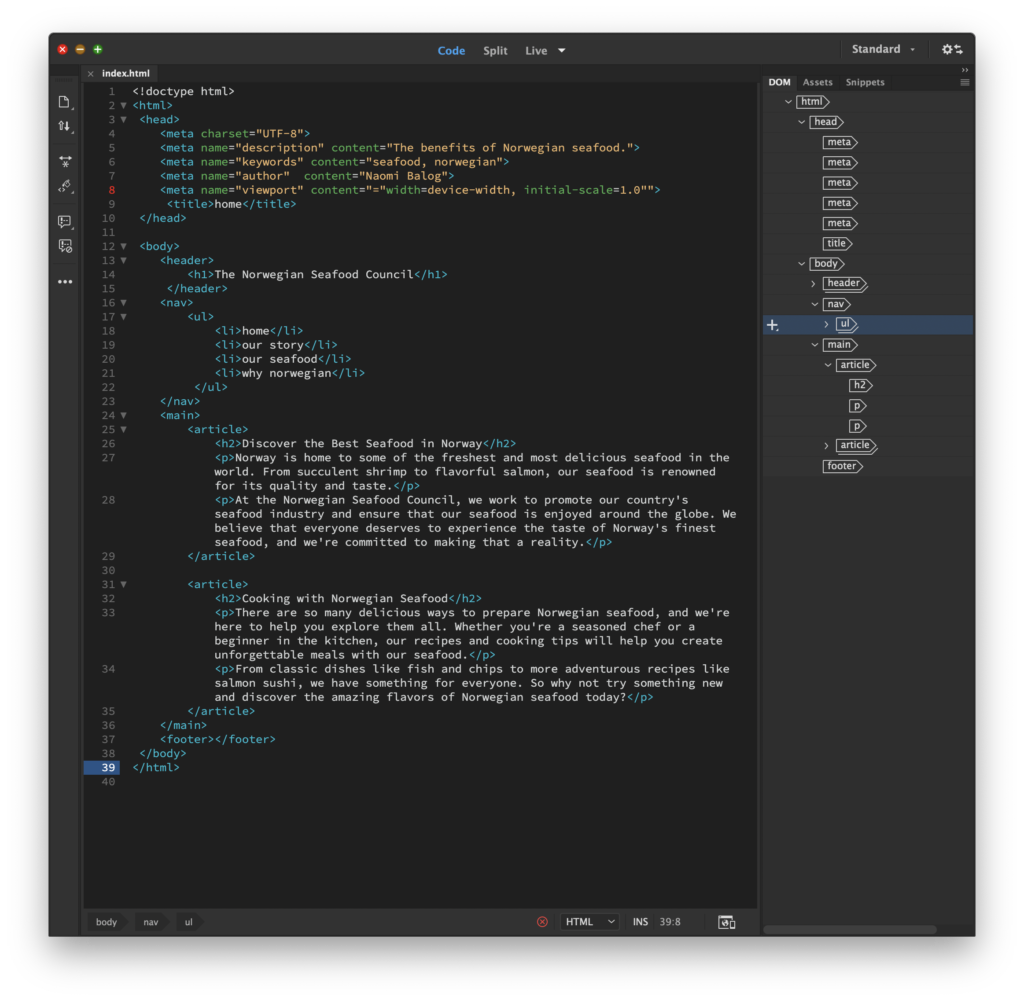
- <meta> element with some metadata – charset, description, keywords, author, viewport – note: must sit within the <head> element.
- Create a <ul> (unordered list) with <li> elements that will later form the navigation menu. (You are not required to style or link anything at this point, just list the menu items that will represent the links to the different pages of the website later). Think carefully about where you should place this list.
- Create at least two sections in the content using either <section>, <article> or <aside> elements that will hold the main content.
- Create at least one <h1> element, and one <h2> element. Note how the <h1> and <h2> elements render as different sizes, and as bold text.
- Create at least four <p> elements.
These were added.
Part 2
Screenshots of the code and browser result.

1.4 Lesson Task
Part 1 & 2
Completed in Dreamweaver
Part 3
Instructions: Post screenshots of the code and browser result and write about what you have learned.


Here’s a full page screenshot of the site (it looks like a really old website :D)

This is the first website I’ve ever created from scratch, and let me tell you, it was as exciting as it was intimidating.
I learned a lot about html this week. For one, I’ve learned that one has to be careful with the syntax. A missing quotation mark or an unclosed angle bracket is difficult to spot and can result in the website displaying incorrectly. It’s important to build good structure in the beginning and to pay attention to detail, it all has to be perfect. While the things we’ve learned were not necessarily difficult on their own, there are so many things to remember that it can get confusing. I had to go back several times to check the exact names of attributes and I felt that the best way to learn was by doing the activities, as reading the lessons were not that helpful by themselves. It was a lot to take in.
Overall, it was a very satisfying experience to edit html source directly and see the end result. That said, I have certainly learned to appreciate the convenience of WordPress even more. 🙂
No responses yet