

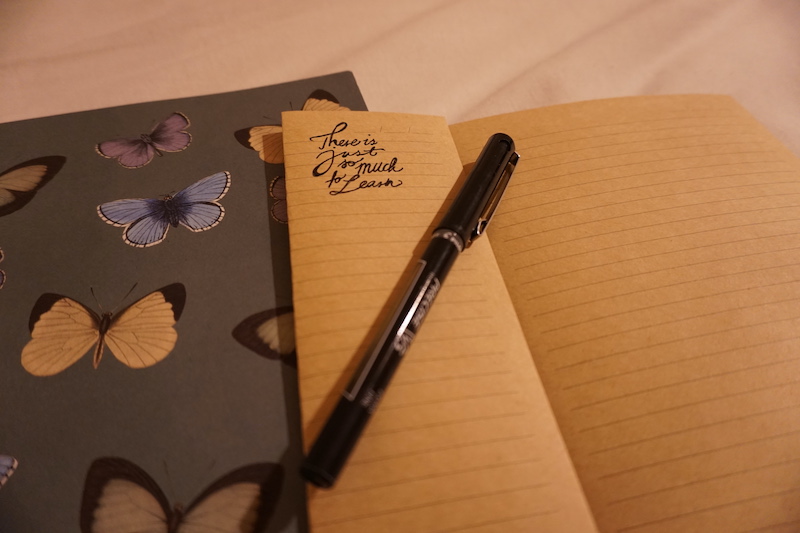
White Balance
White balance plays a key role in removing color casts in order to accurately display colors. Therefore, adjusting this setting based on the environment and lighting helps to get more natural looking colors. The options I have on my camera are: auto, daylight, shade, cloudy, incandescent, and fluorescent. In addition, I have several fluorescent options: warm white, cool white, day white, daylight.
Lesson Task:
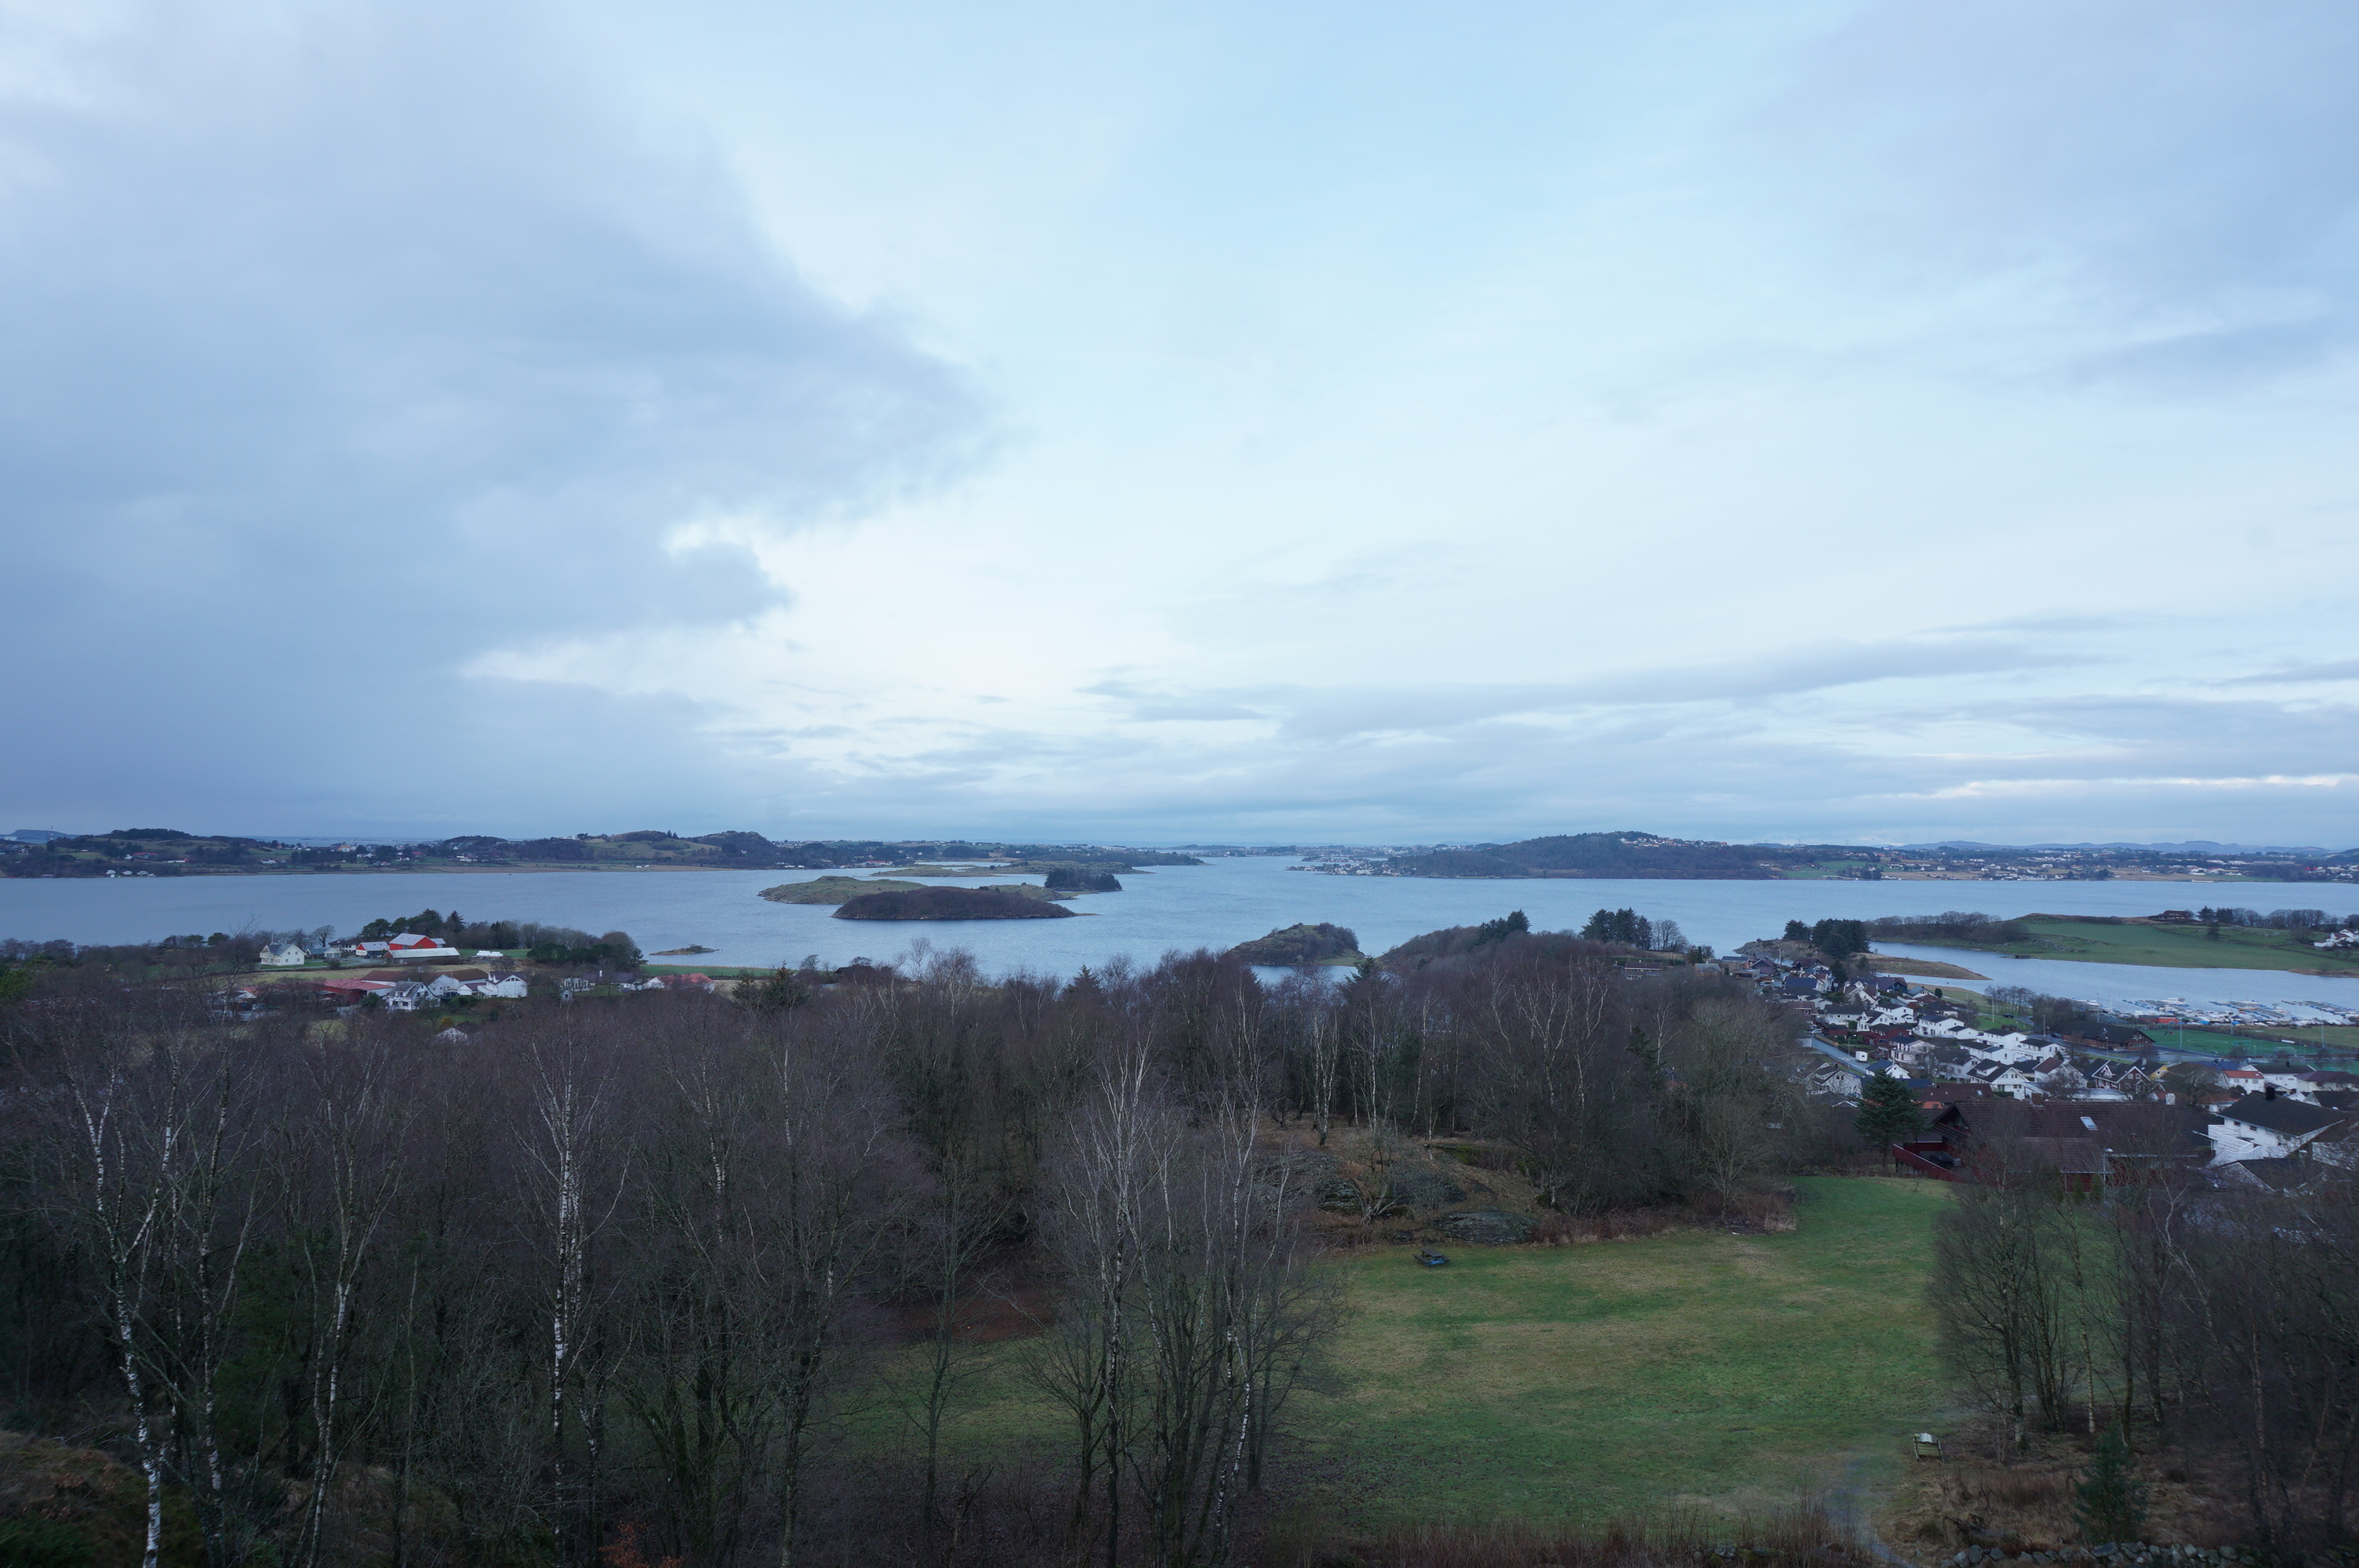
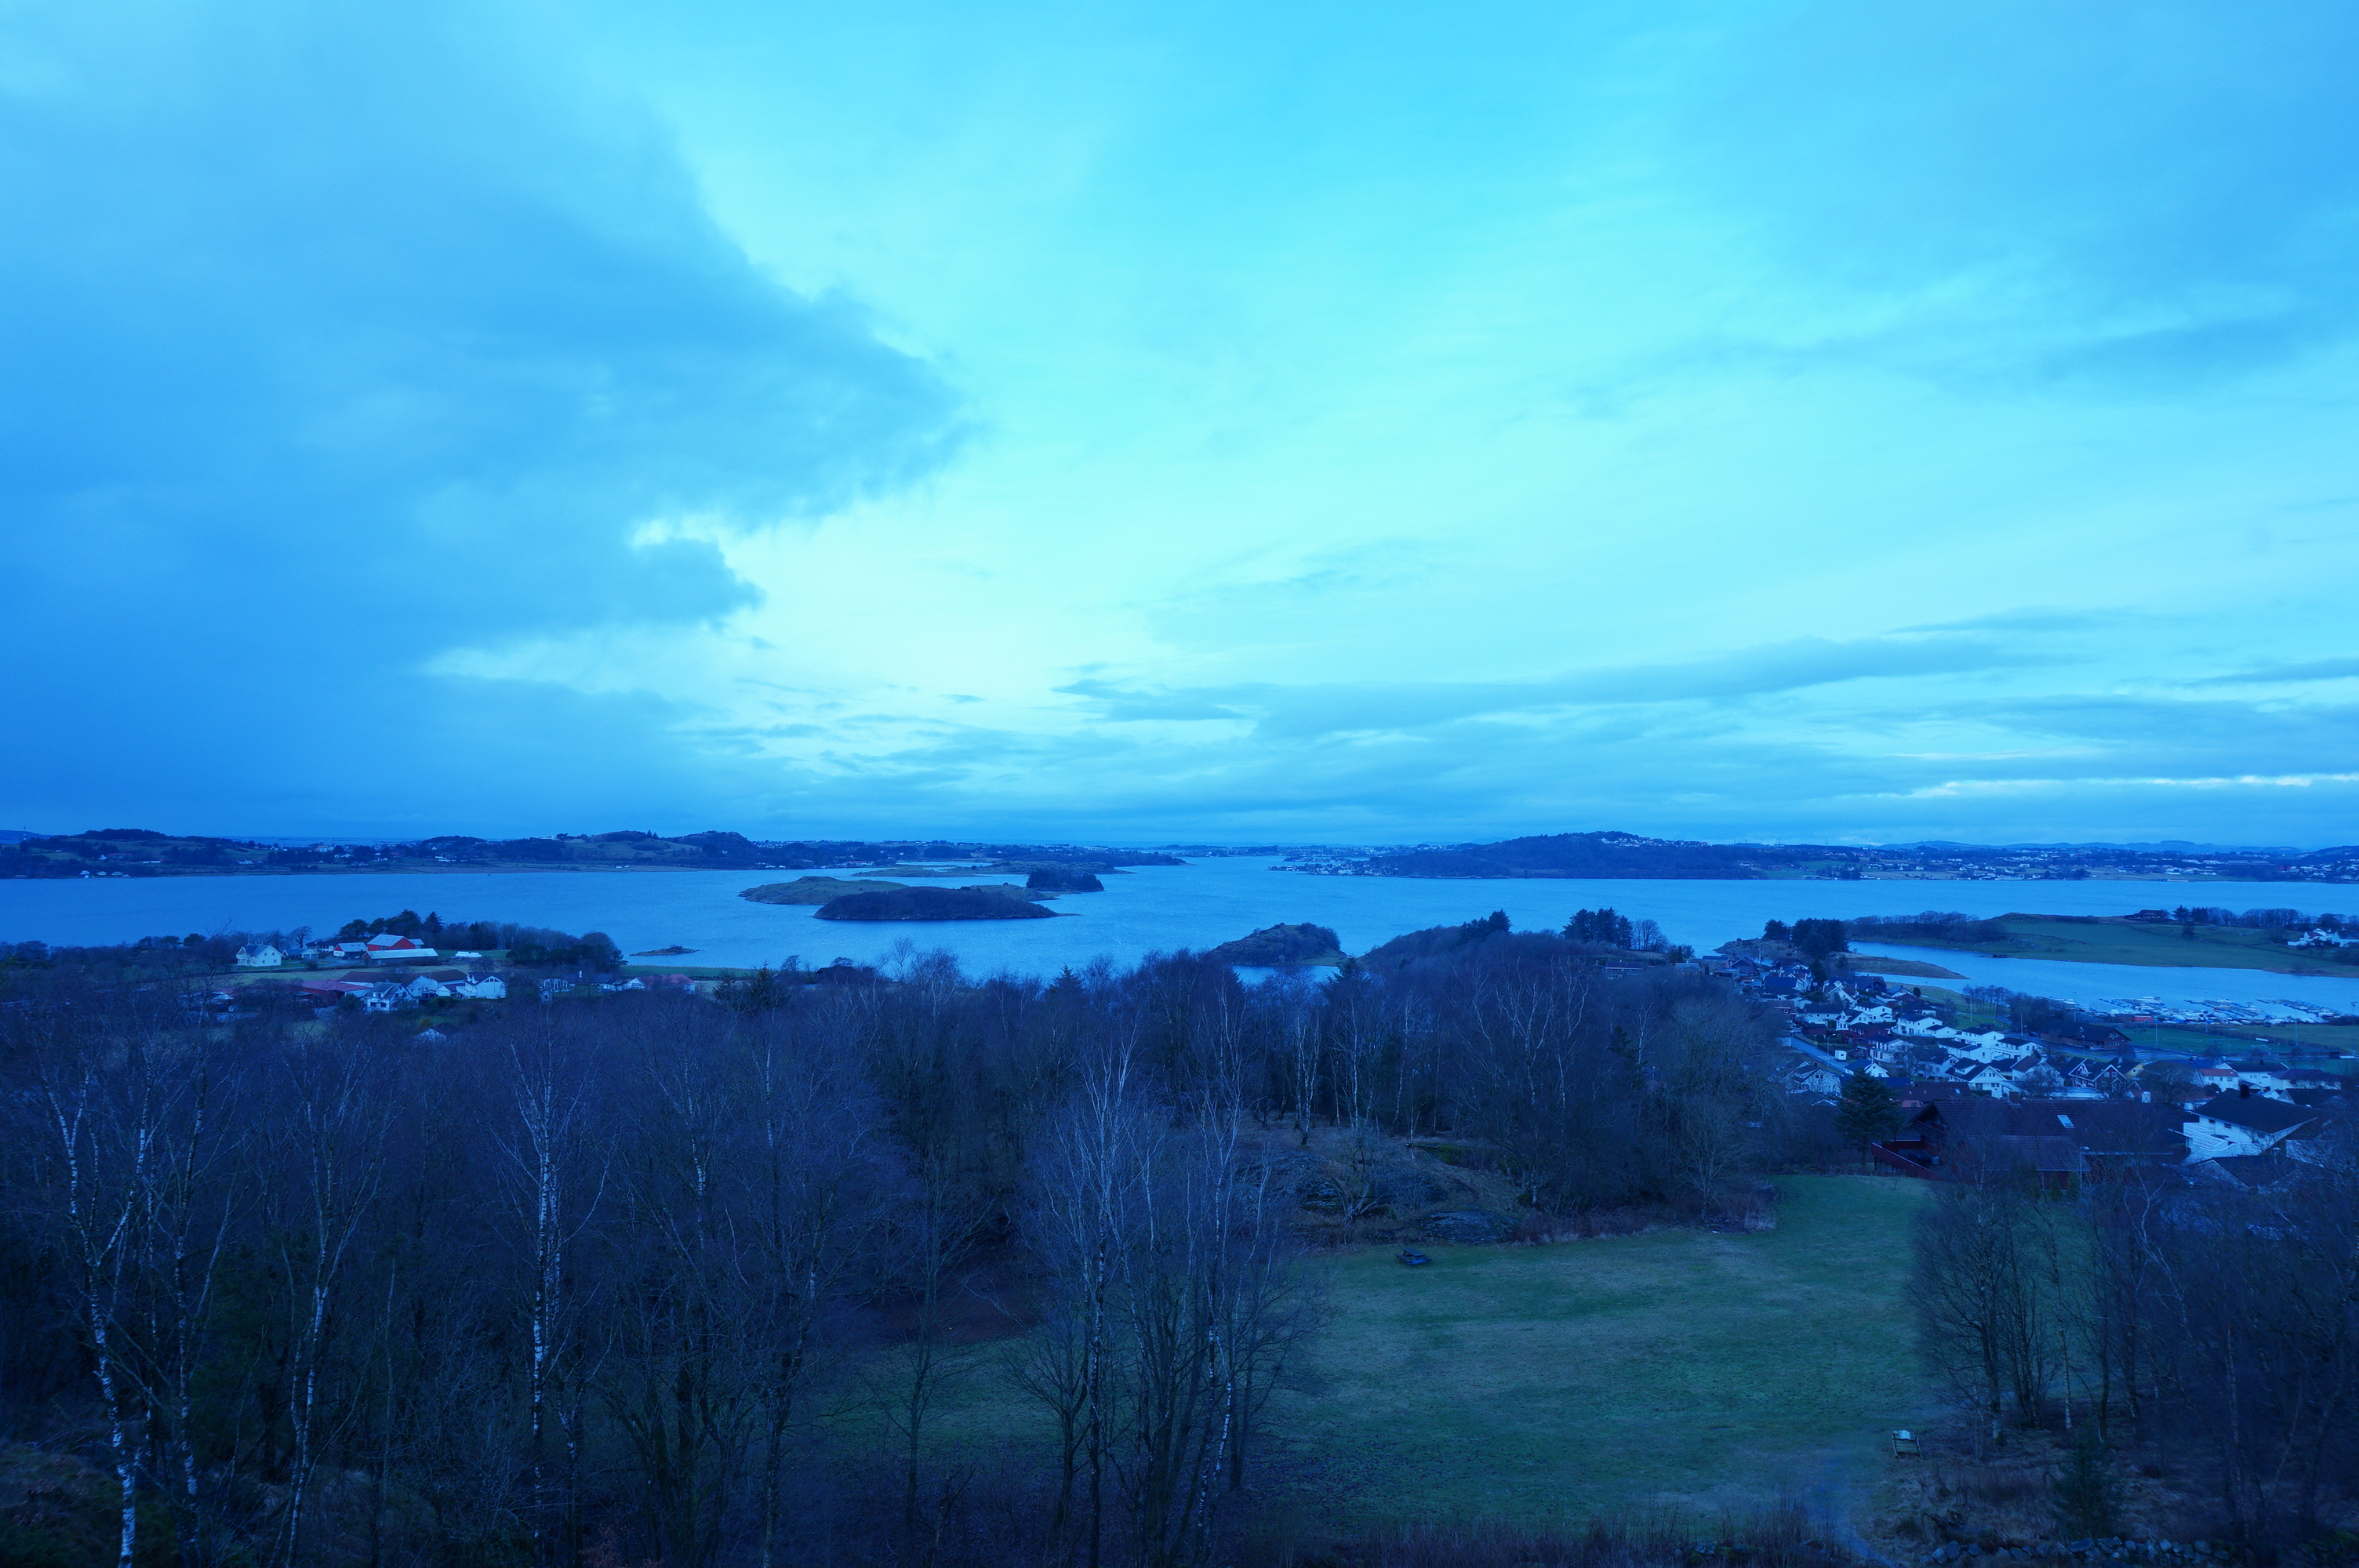
- Take your camera outside during daylight and photograph the same scene using different white-balance settings.
 |  |  |
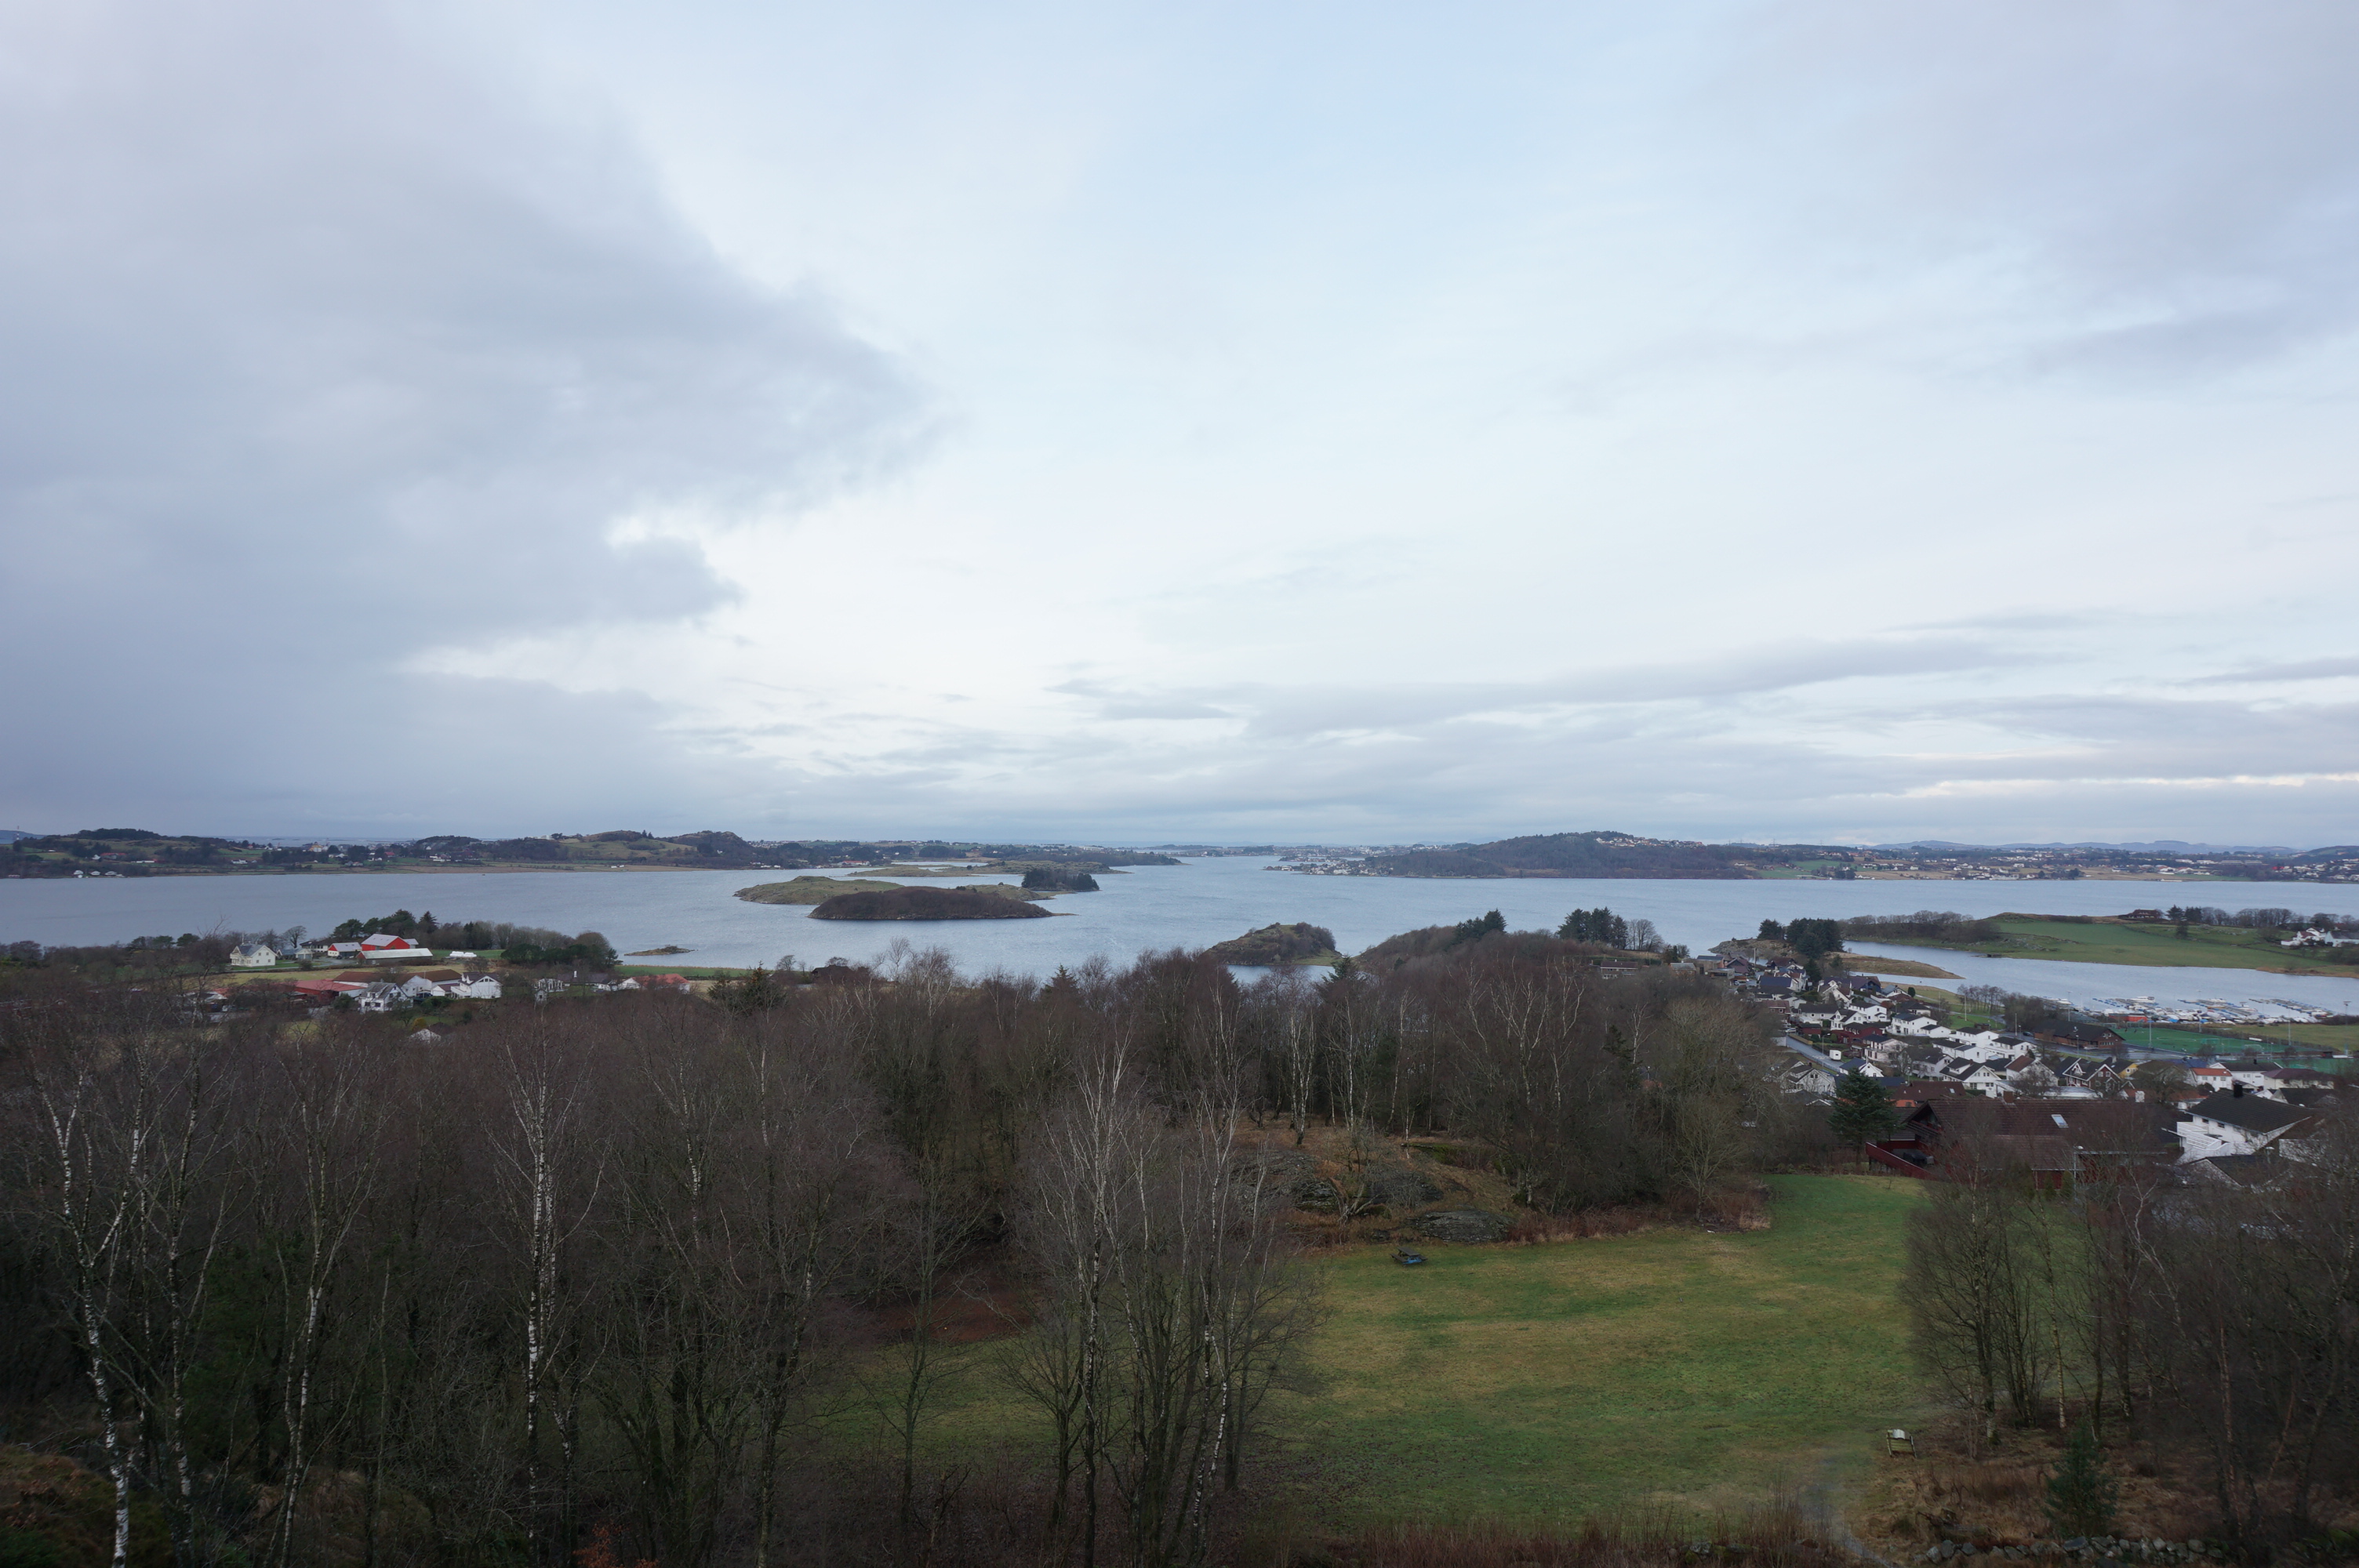 | 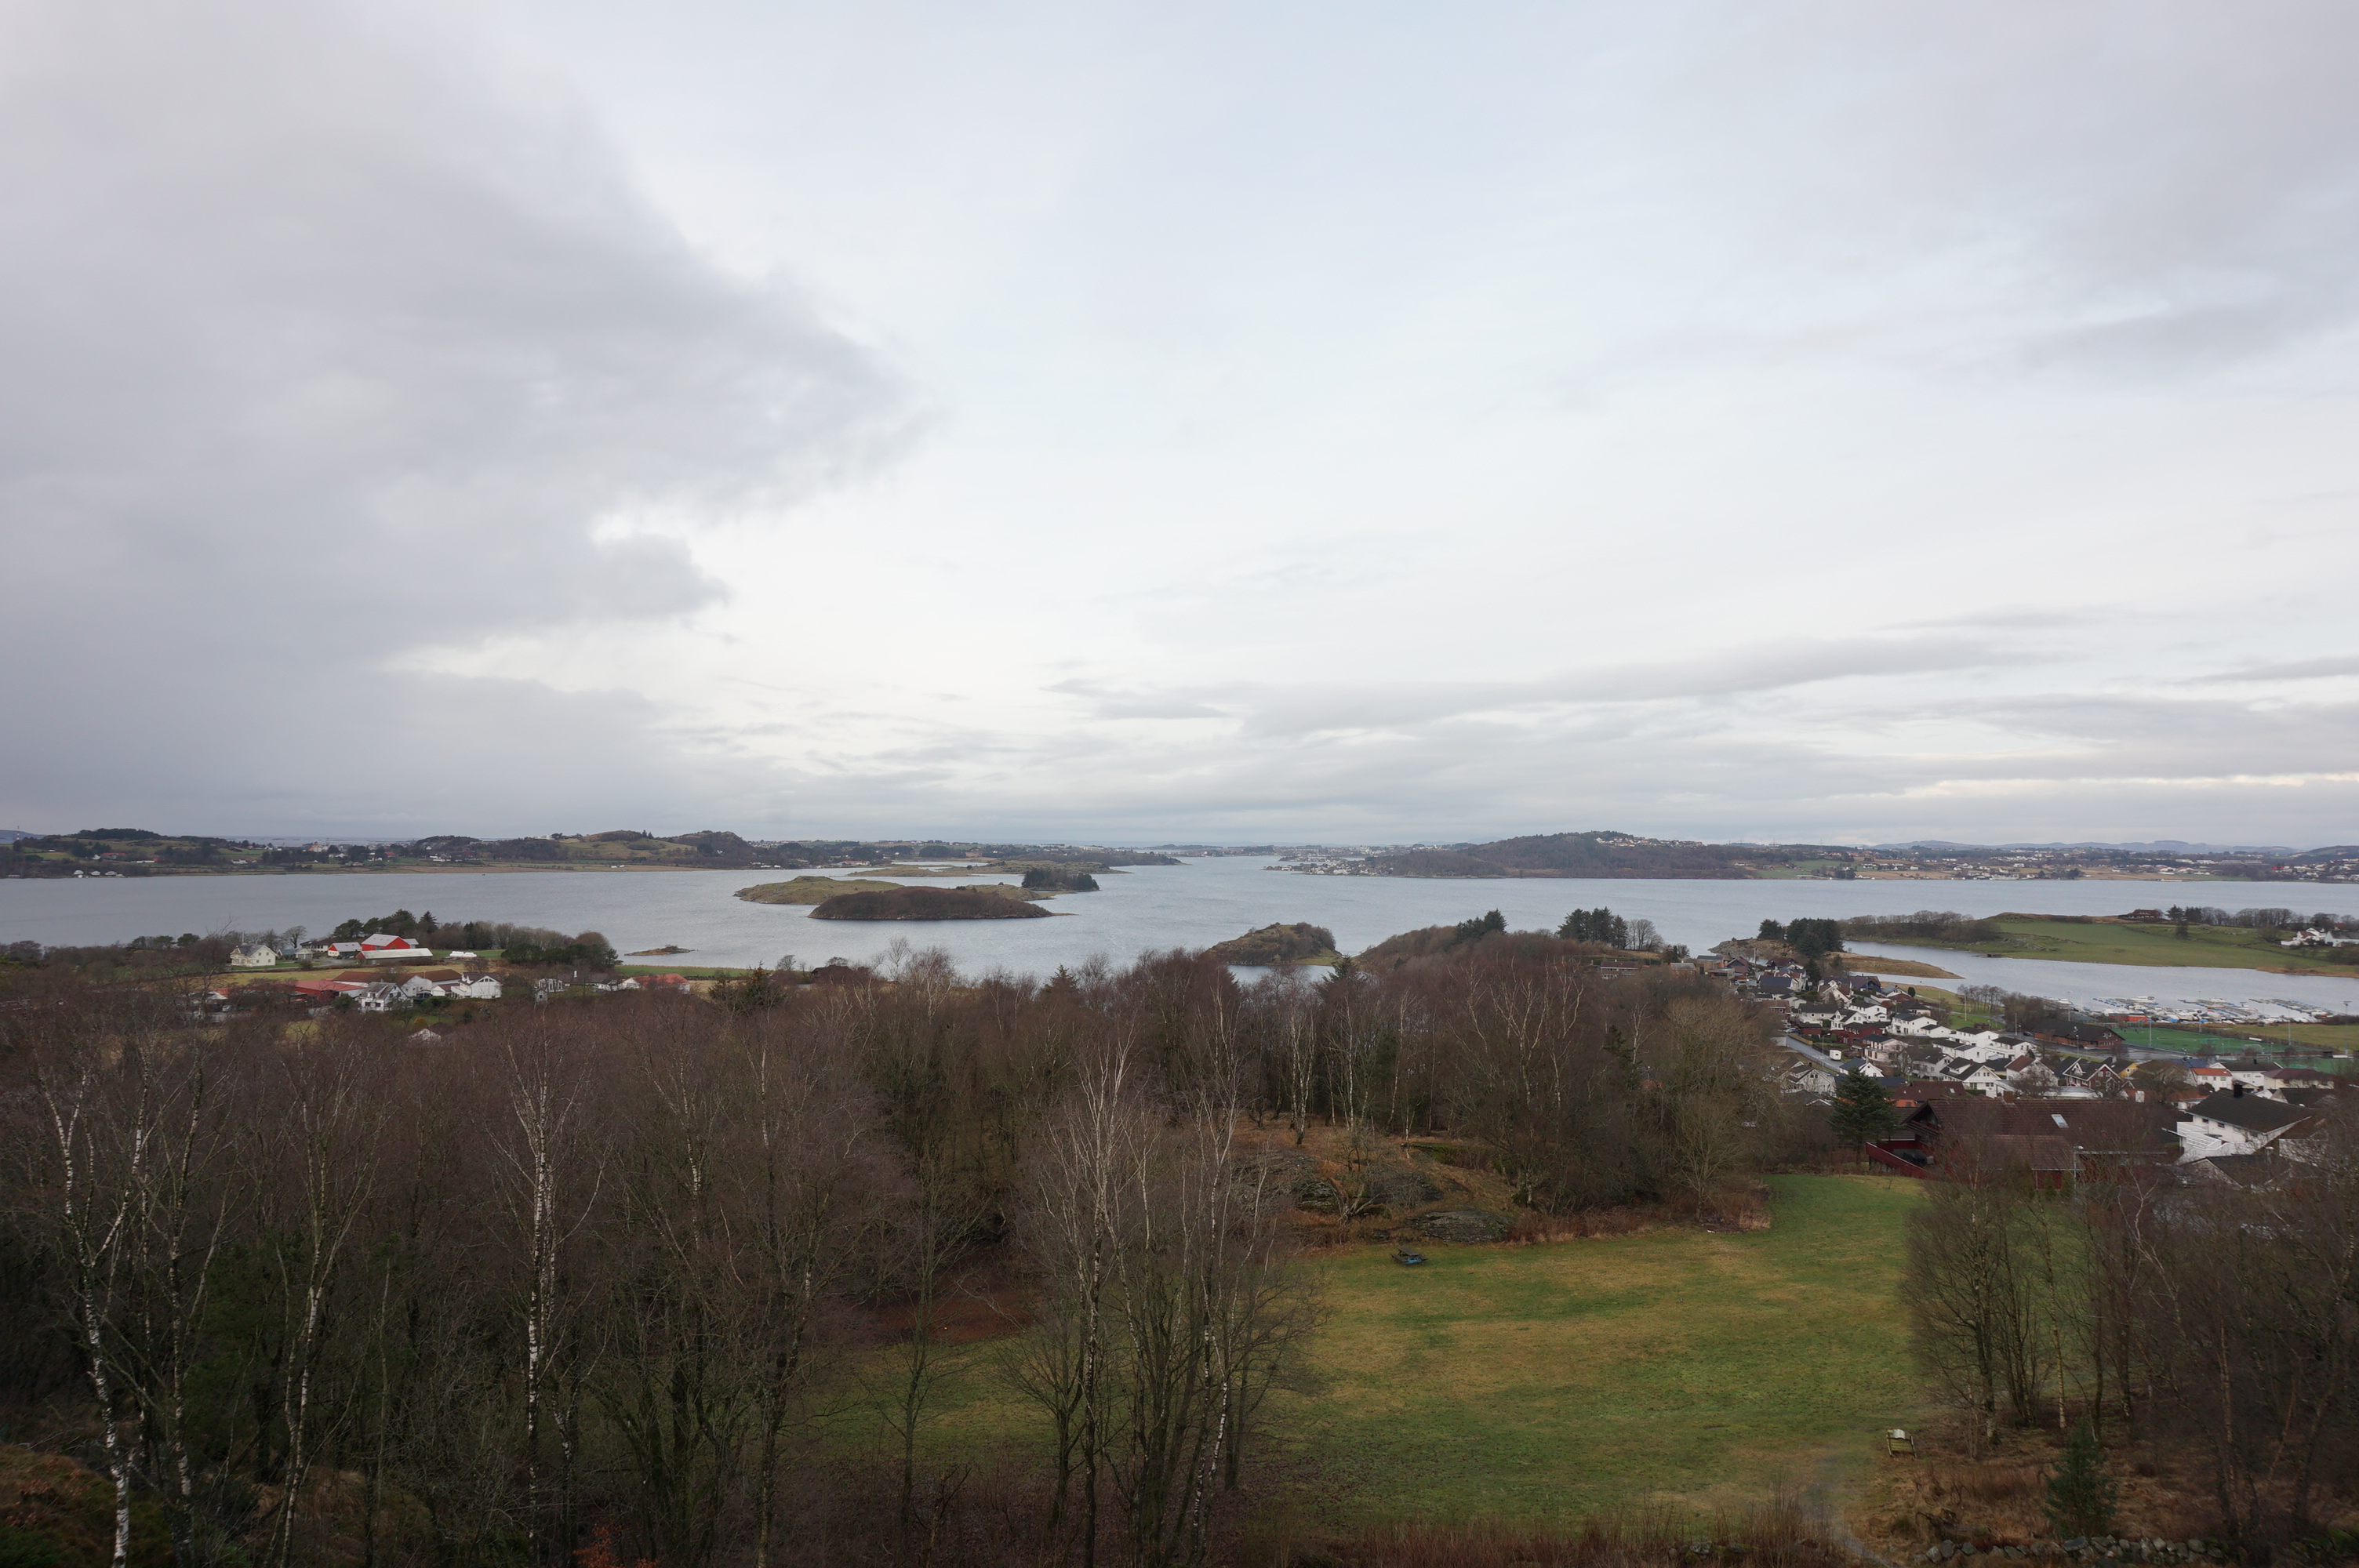 |  |
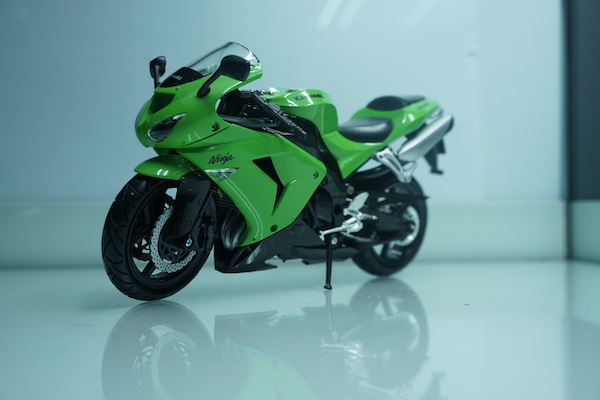
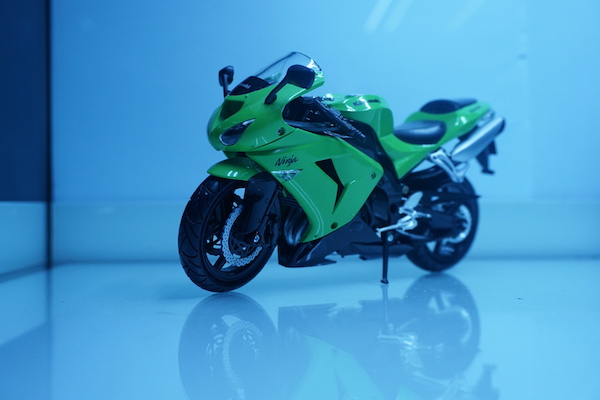
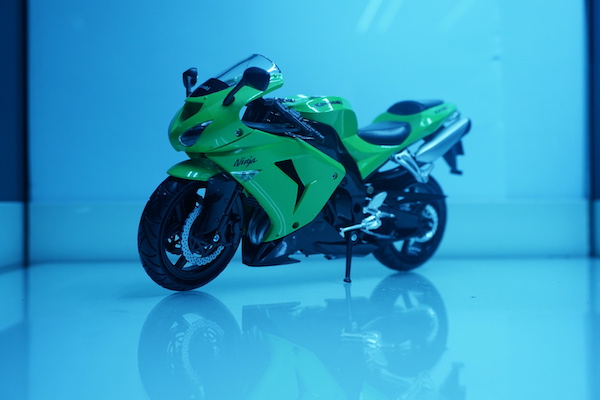
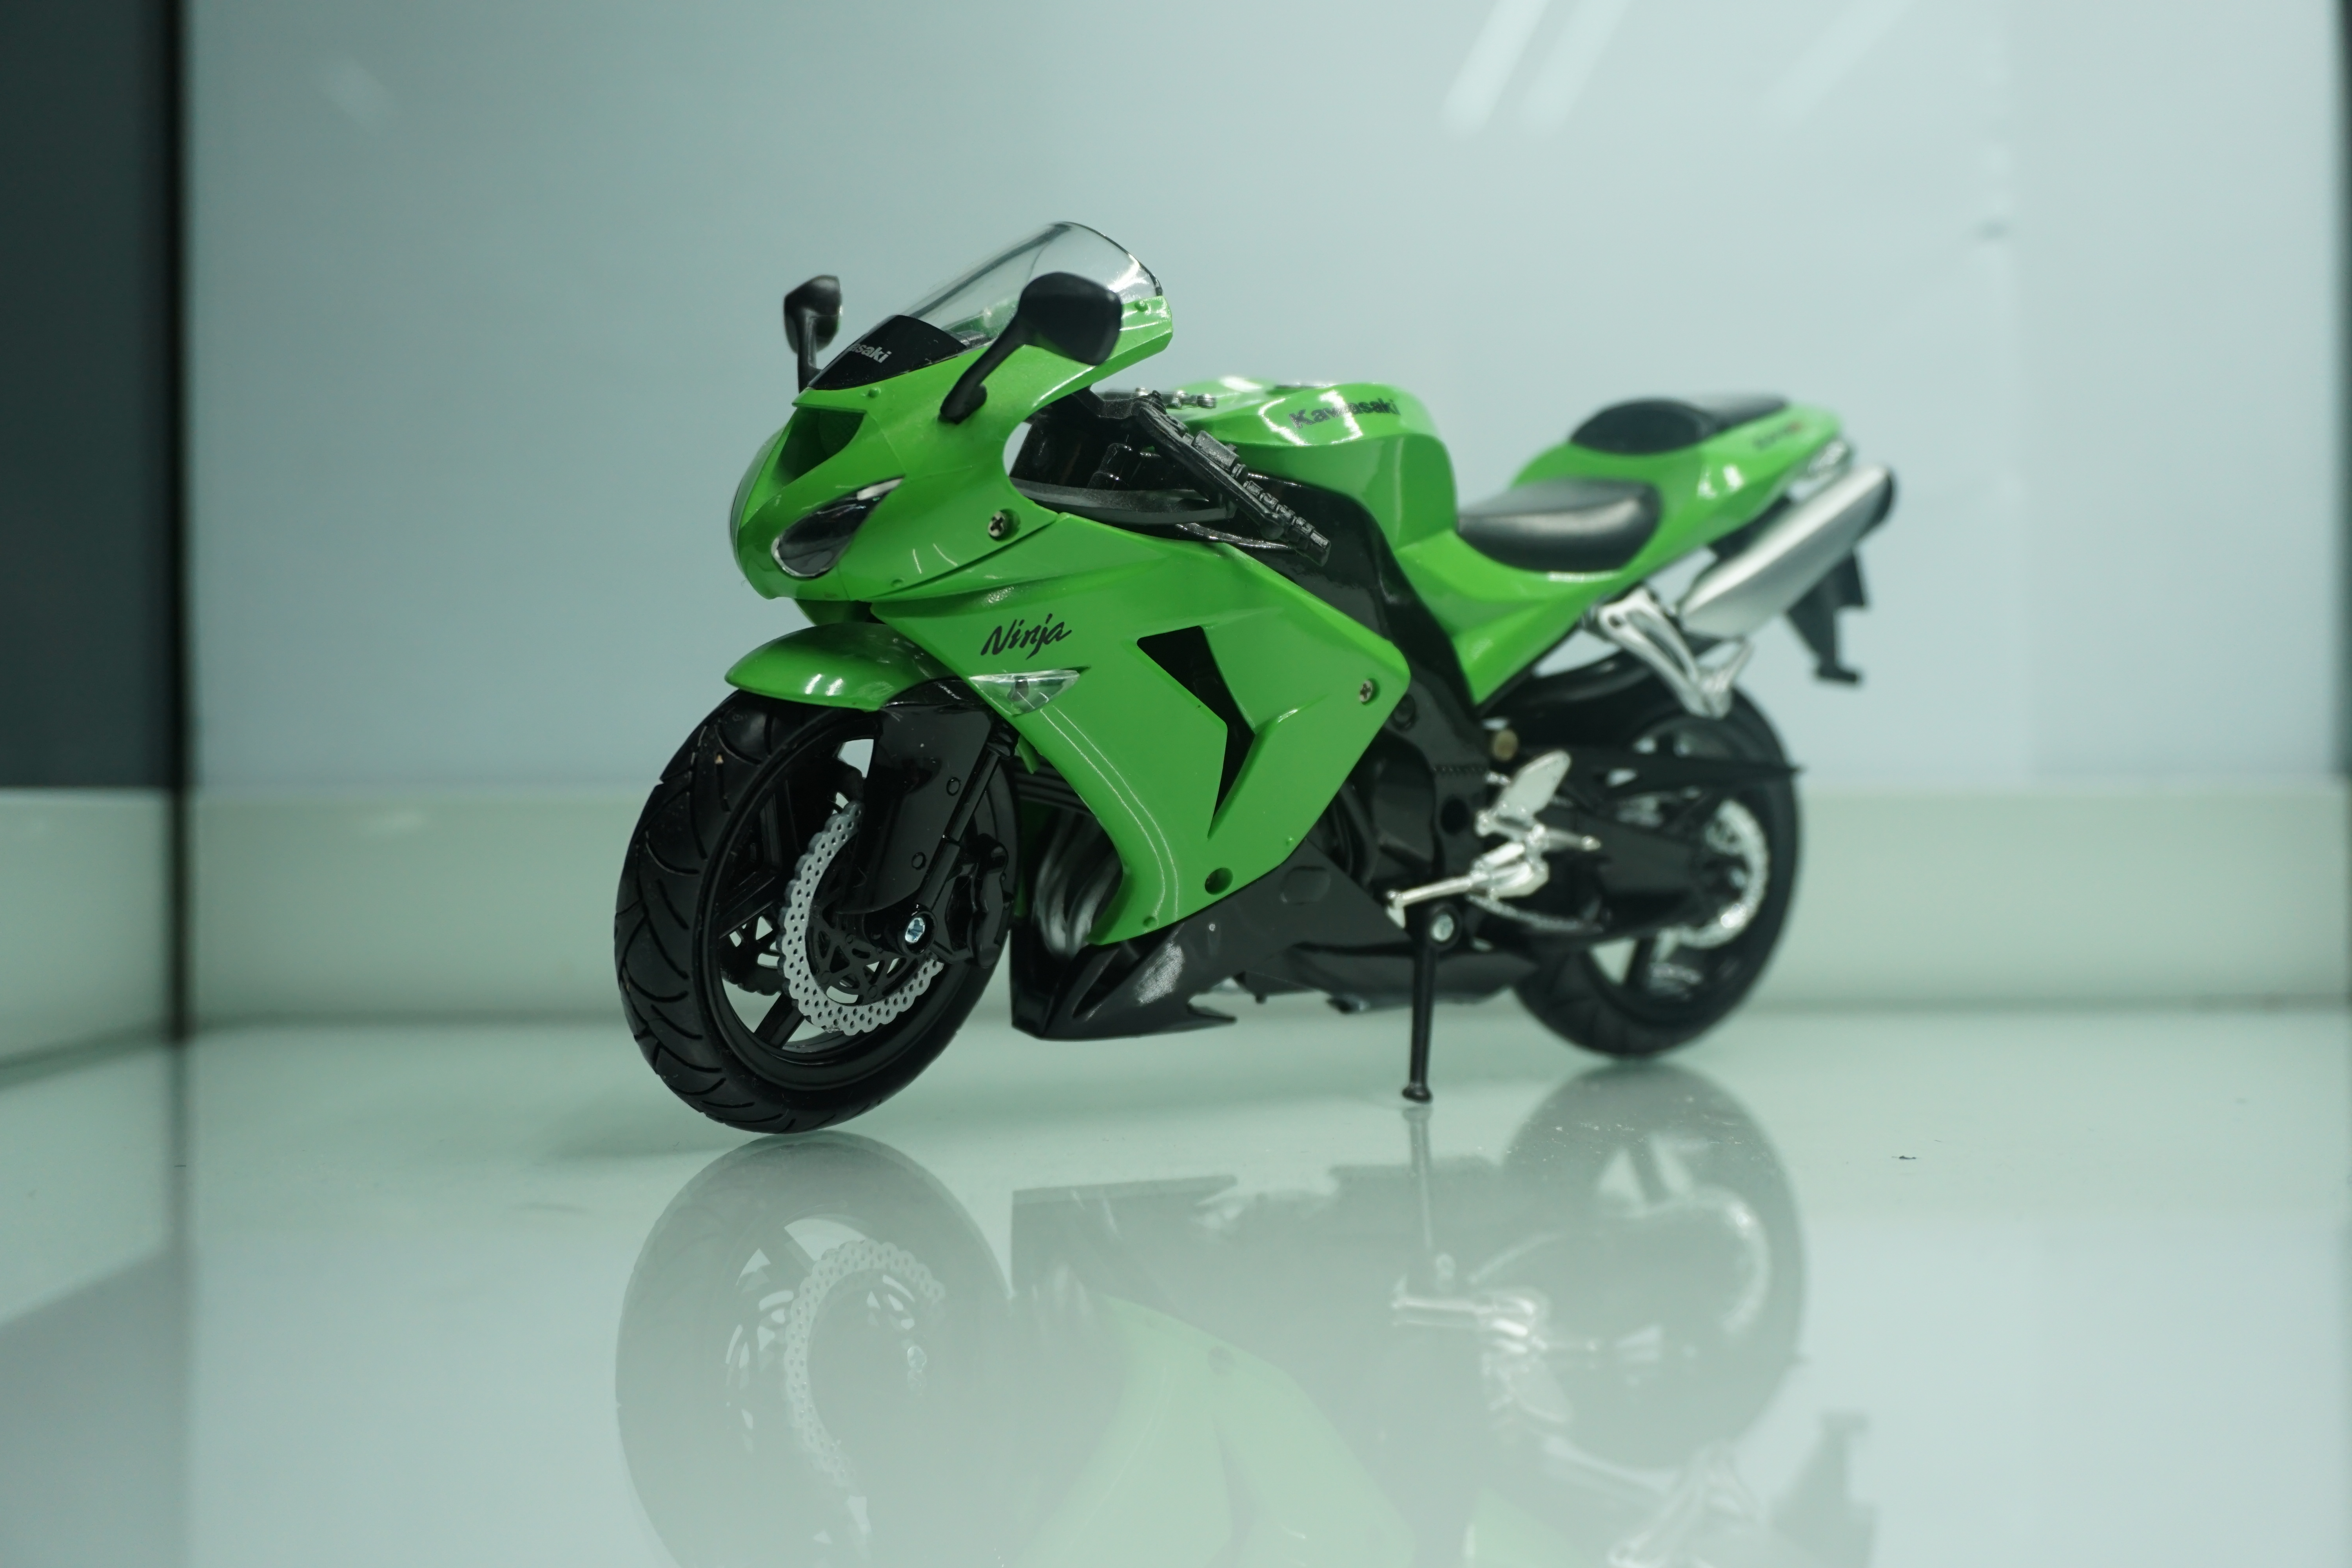
The auto setting worked well (first image), and I found the shadow setting (2nd row middle photo) more neutral than the rest. It seemed like the light was already quite “blue” outside so the cool fluorescent setting looks awfully blue.
2. Move indoors and repeat the exercise with shooting in a tungsten-lighting environment.
 |  |  |
 | 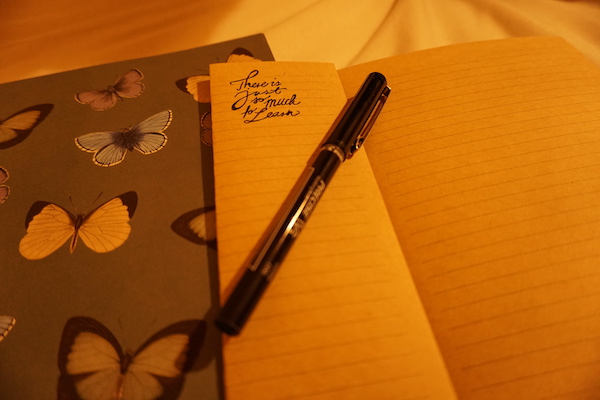 |  |
When I took these photos it was already dark outside and the light made the image very yellow. The auto setting was quite good and the incandescent setting neutralized the orange tones best. Out of the fluorescent choices, warm white worked best. When I took similar images with some light from outside and some from inside (next to a window with the light on), the cool fluorescent tones showed up differently (more blue or magenta).
3. Finally, find a fluorescent light source and repeat this one more time.
 |  |  |
 |  |  |
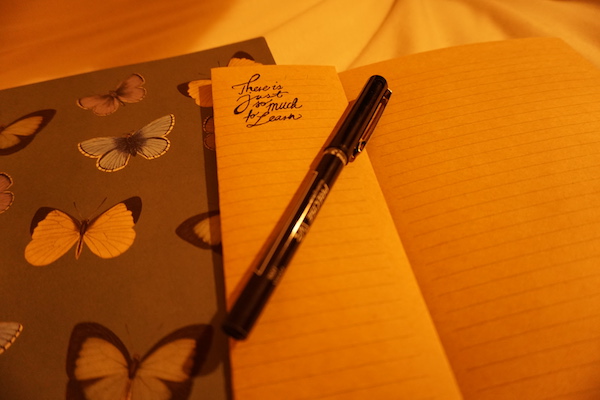
The fluorescent light was very white, so I did not have any issues with the image looking yellow, but it seemed a bit green when I used the warmer settings and very blue when using the fluorescent settings.
Overall, I have found that in most cases the auto setting worked really well, but it was useful to play around with the white balance a bit more. In conclusion, if the light is too blue, using a warmer white balance setting can help counteract that, and if the light is too yellow using cooler settings will help neutralize them. We can also utalize these cooler or warmer settings in order to create different moods.
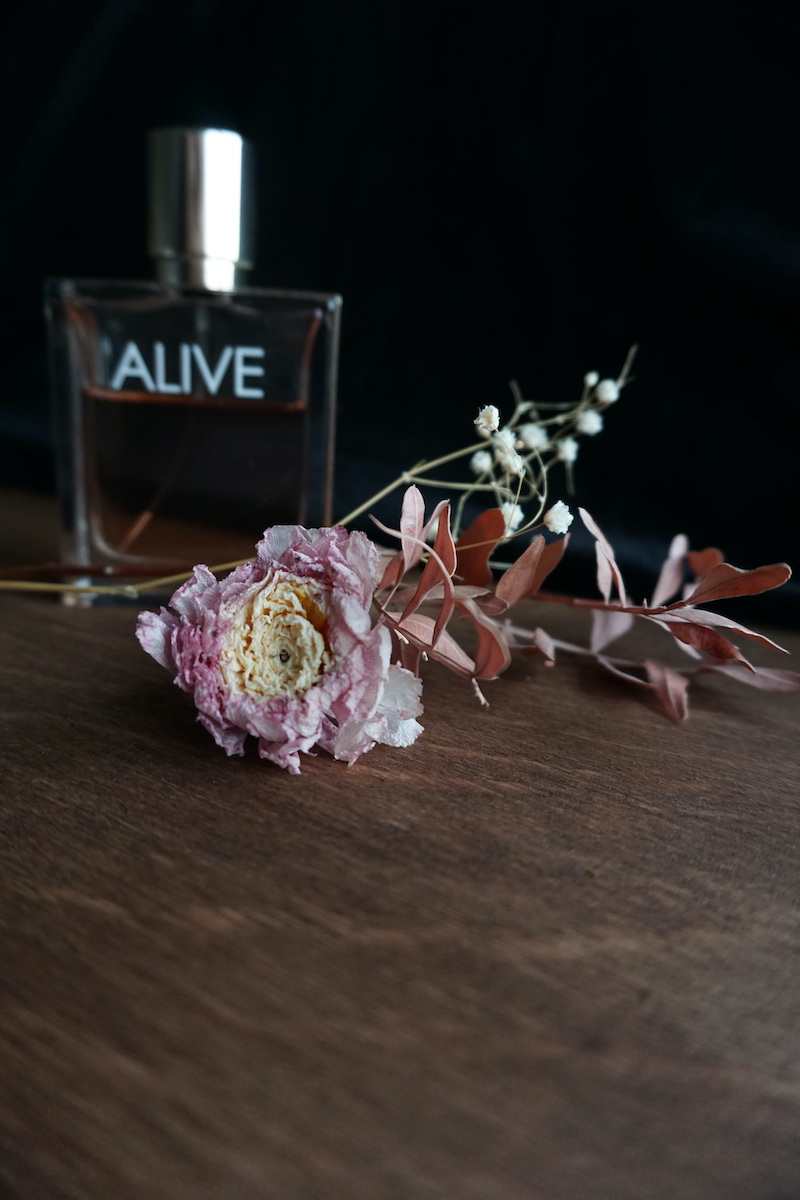
Focus Modes
- Change your camera settings so that you are focusing using the Single-Point focus mode.
My camera lens is not good at focusing on something up-close, but the single-point focus mode seems to work best along with spot metering when I want a sharp point in a somewhat up-close and still object. When I focus on something and I move my camera up or down just a little, the camera keeps the focus on the original spot; however, if I change my position more than just a tiny bit, it looses focus. Also, if I focus on an object and then move the object either closer or further the camera looses focus and I need to refocus. AF-A is not so sensitive to movement and can better adjust. AF-C seems to refocus on its own when the object is moved as long as the button is half-way pressed. I also have DMF, and it’s hard for me to tell what it does, so I decided to look these up.
AF-S: Best for shooting still objects.
AF-A: When the shutter button is pressed halfway down, the camera automatically recognizes whether the subject is moving or not, and switches the AF mode between AF-S and AF-C accordingly.
AF-C: This is good when photographing moving objects.
DMF: Allows fine adjustments manually after the focus is locked. You can quickly focus on a subject rather than using the manual focus from the beginning. This is convenient in cases such as macro shooting.
I also don’t mind using the manual mode. My camera zooms in up close when I use manual focus so I can see the sharpness of the image clearly, then it goes back to normal view to take the photo. This is very helpful.
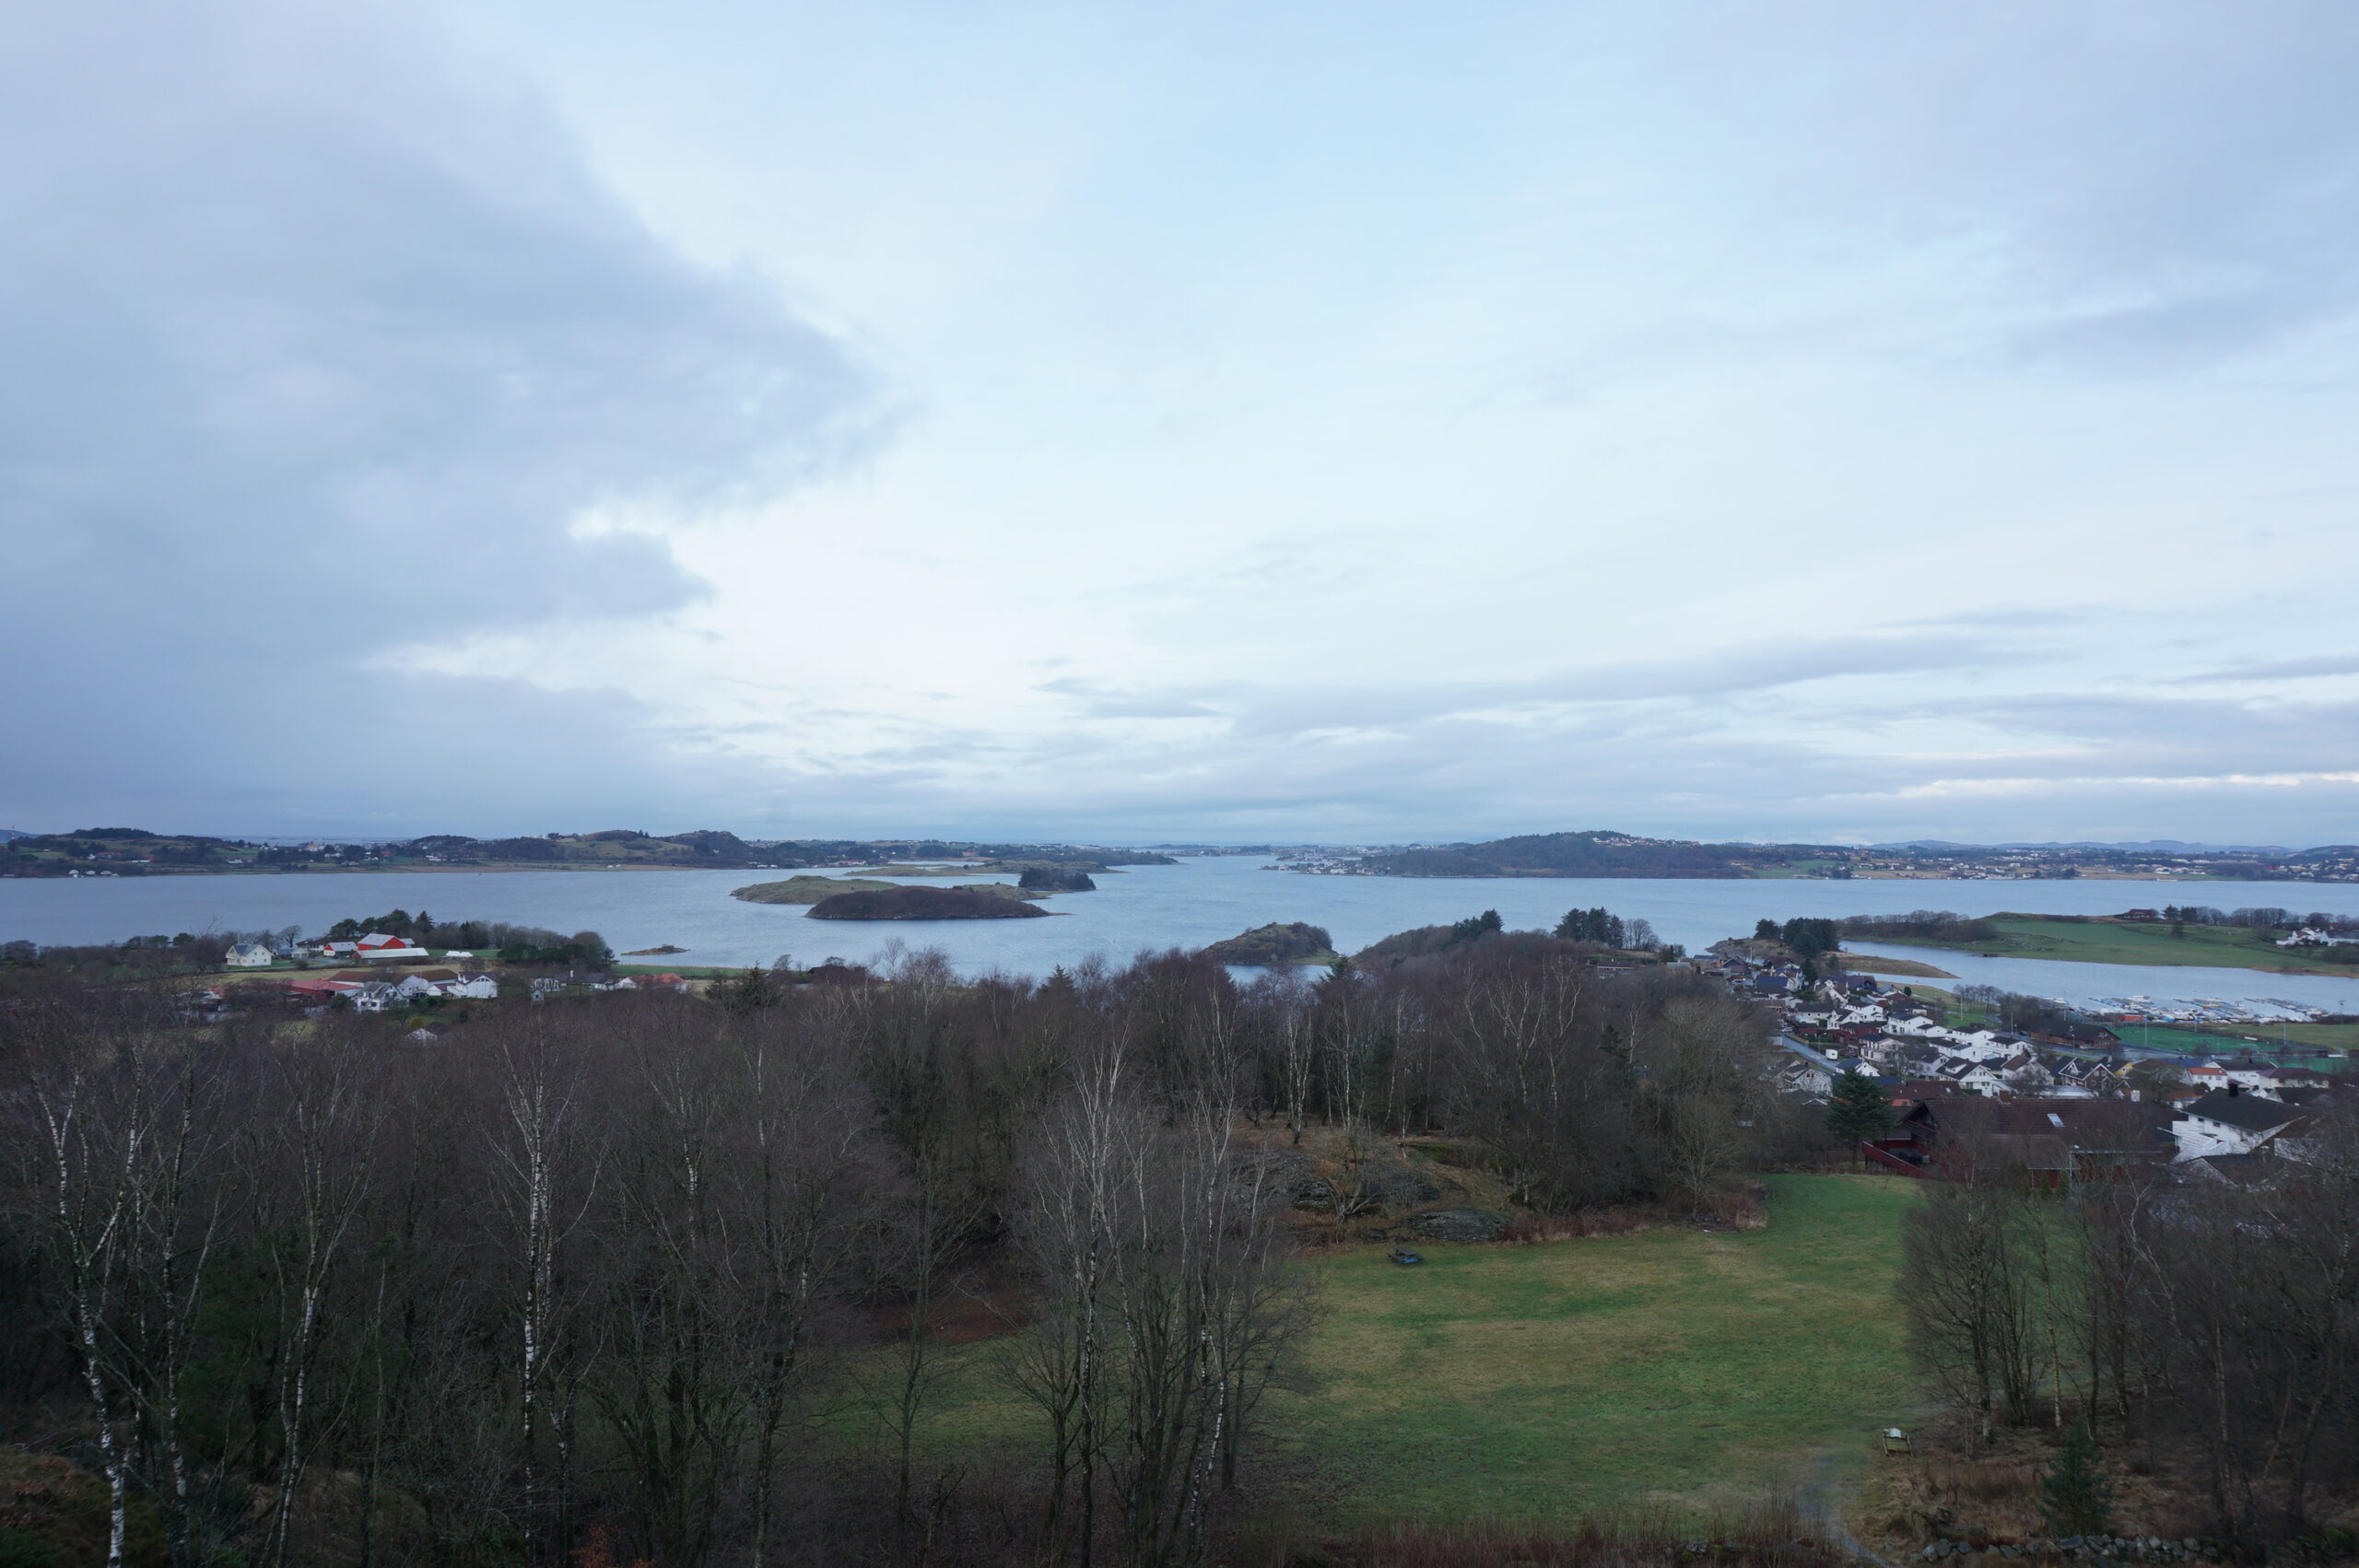
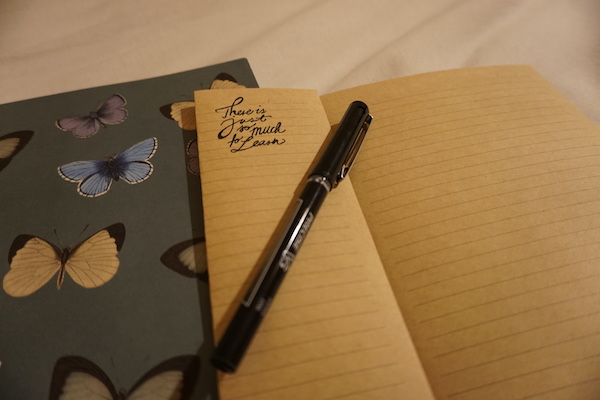
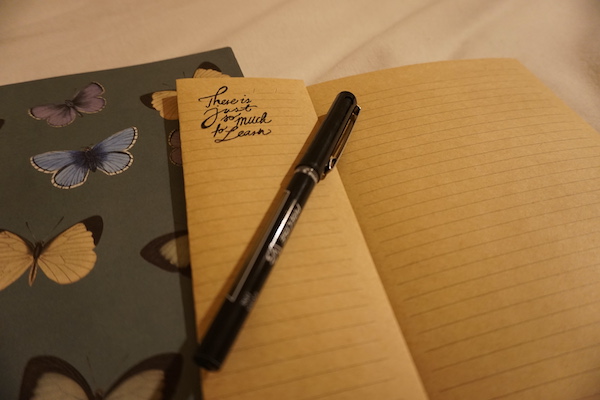
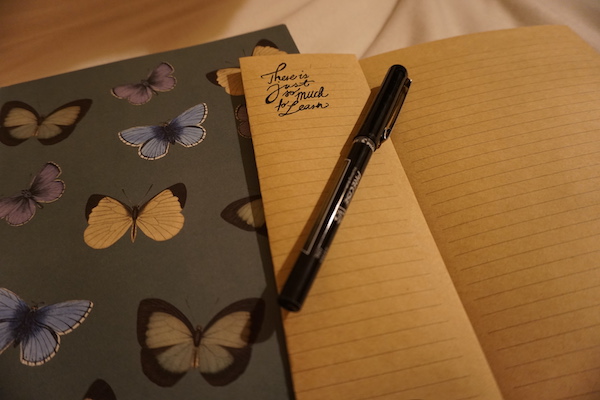
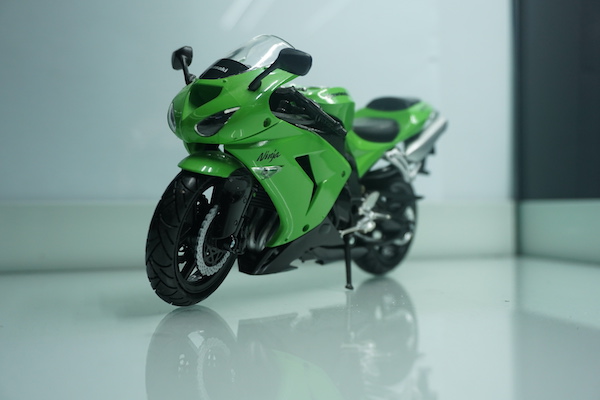
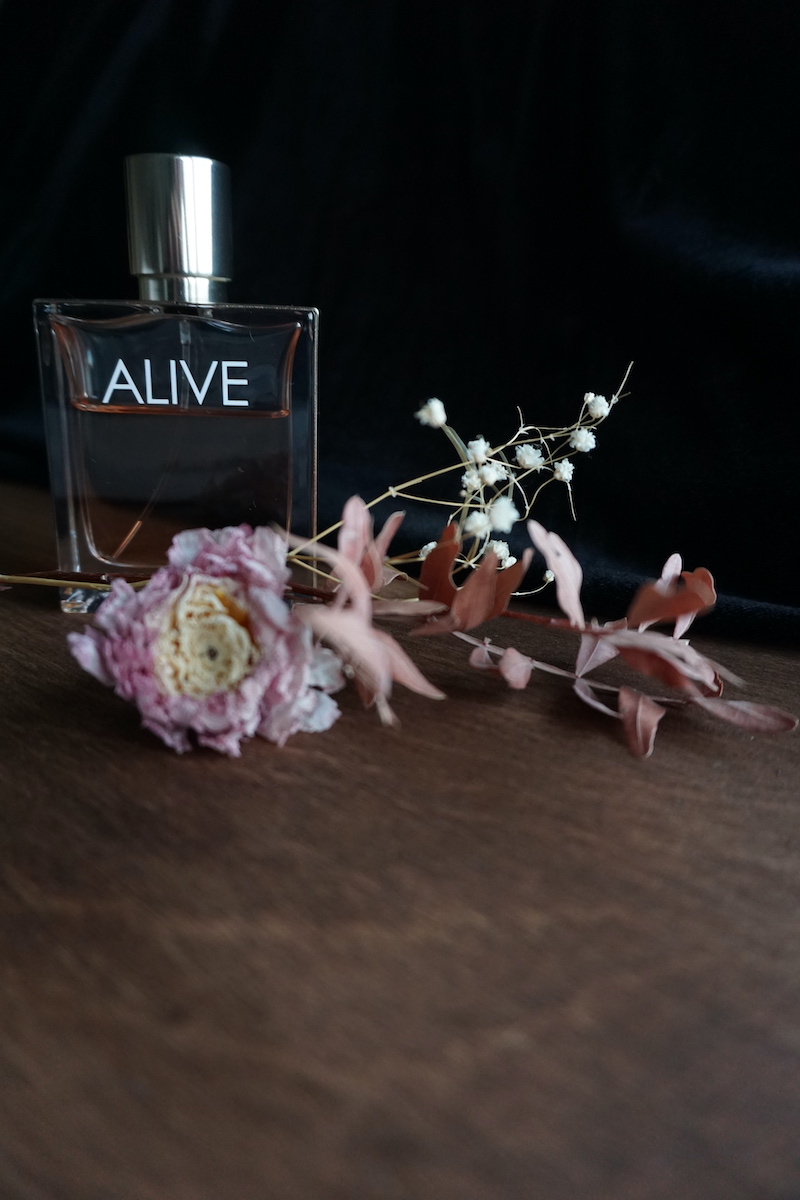
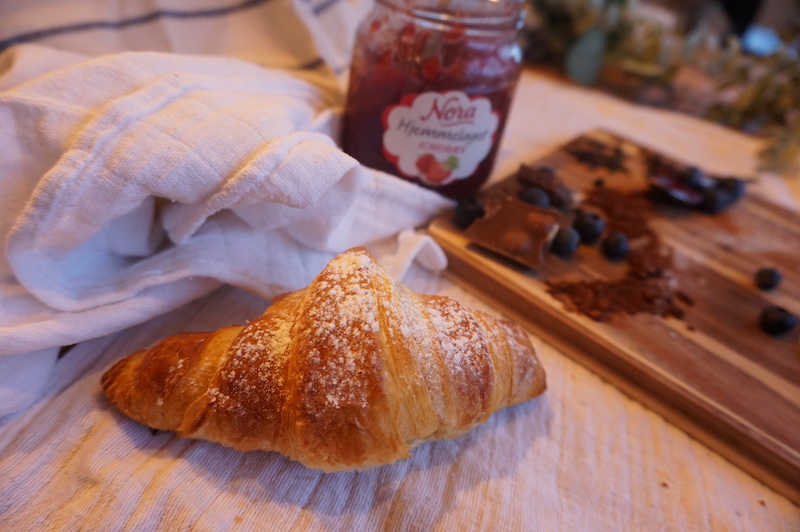
Here are some examples of focusing on different parts of the composition:
 |  |
 |  |
No responses yet