For this assignment, we have to familiarize ourselves with our camera and three basic camera settings: ISO, aperture, and shutter speed.
I have a very old Canon Rebel Xsi/450D with a 18-55 zoom lens and a 50 mm prime lense which I probably purchased around 2008-2009. I used it for some years (rather experimentally) but I haven’t touched it in about 4-5 years now. As I started working on this assignment, I realized that this camera would probably be too old to use. My lowest setting of ISO is 200 (that I can manually set), the highest is only 1600, and my lowest aperture is f4.0. I also don’t have the SD card needed for firmware updates, so I decided to look at another camera.
I also have a Sony a5100 with a 16-50 zoom lens. It is a compact little mirrorless camera for beginners that doesn’t look like much, but it is a lot better and newer than my old Canon. For this reason, I will use the Sony for this assignment and hopefully I will be able to use it for future assignments as well. If needed, I will look for upgrades as I progress in the course.
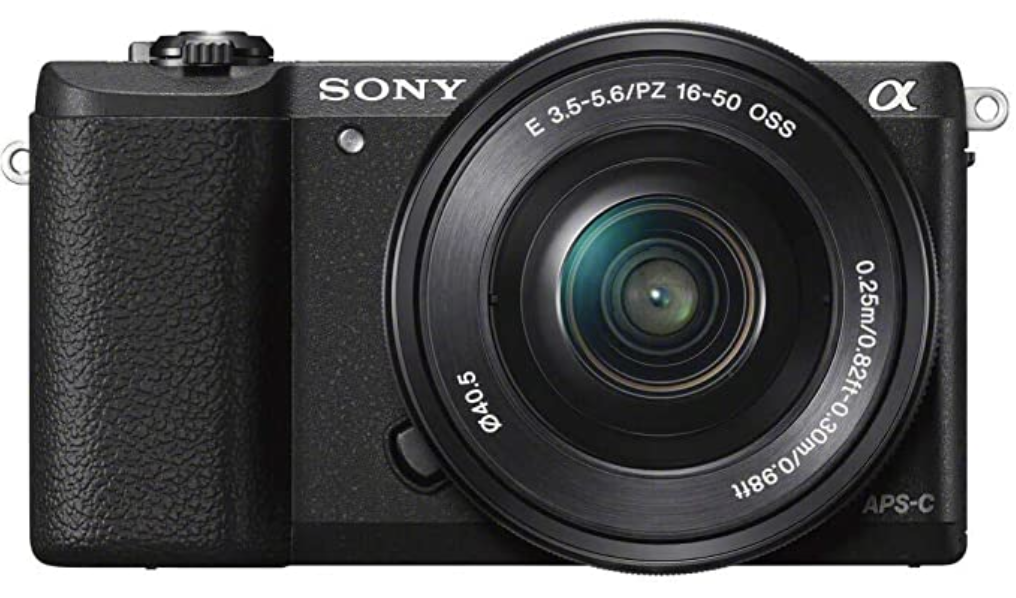
Camera Specs:
- 24MP – APS-C CMOS Sensor
- ISO 100 – 25600
- Max Mech. Shutter 1/4000s
- Sony E Mount
- 3″ Tilting LCD Touch Screen
- 6.0fps continuous shooting
- Full HD – 1920 x 1080 video resolution
- Built-in Wireless
- RAW Support
- UHC Card Support
- Smartphone remote
- Webcam function
- Battery life – 400 shots
- AE Bracketing
- 283 g
The lens has the following information listed on the front and sides:
E 3.5-5.6/PZ
16-50 OSS
0.25m/0.82ft-0.30m/0.98ft
Ø 40.5
Interchangeable lens
E-mount
Power Zoom W______T
3.5-5.6/16-50
Optical Steady Shot
More can be read about the lens here: https://www.imaging-resource.com/lenses/sony/e-16-50mm-f3.5-5.6-pz-oss-selp1650/review/
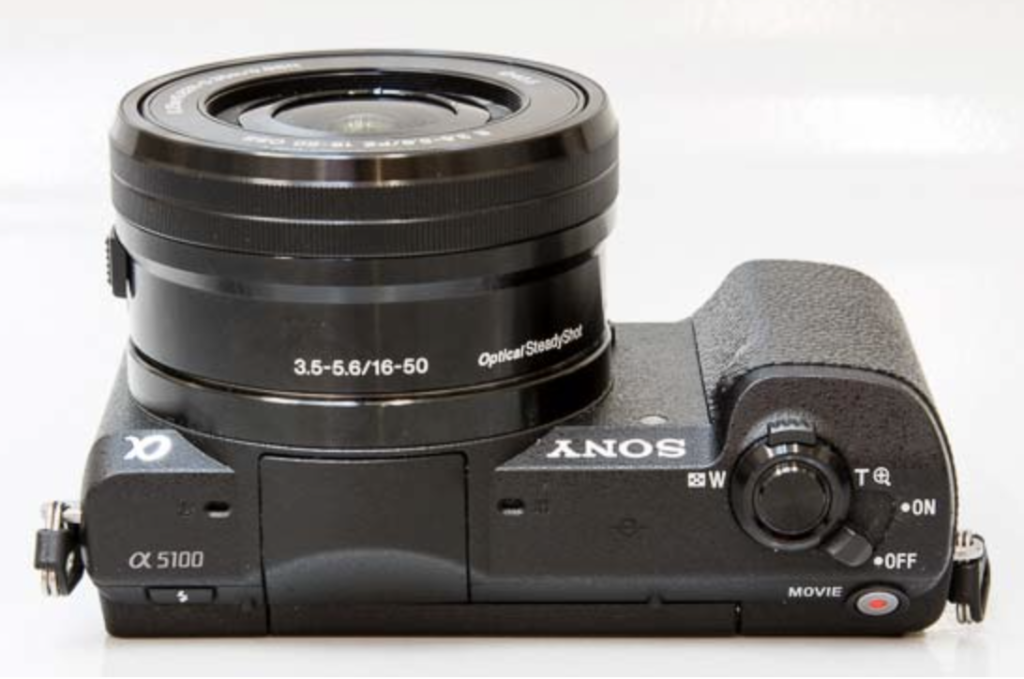
The top of the camera includes the following buttons and the name of the camera a5100:
On/Off button
Zoom (W, T)
Flash
Movie button
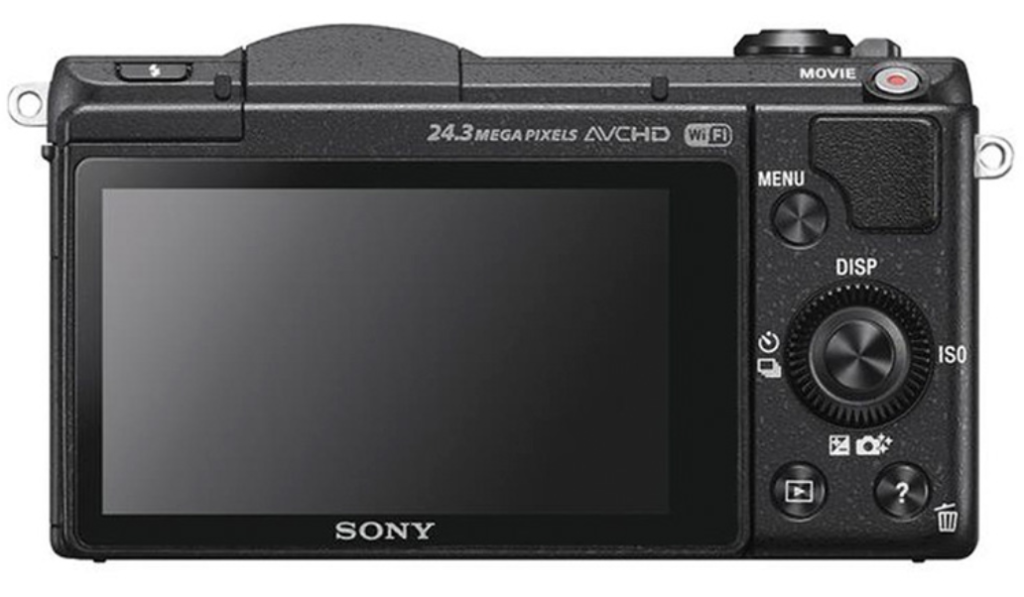
The back of the camera has the following information/buttons
Menu button
Disp
ISO
Camera setting (this one needs to be clicked to set the aperture and shutter speed as well)
Shot setting (number of shots, timer)
Delete button
View button
ISO
What is ISO and how to set it?
ISO is like “fake light”. When there are not enough light sources, the ISO can be cranked up to lighten the image. It is very helpful when there are no other options to gain more light; however, it comes with a drawback. The higher the ISO the grainier the image becomes. For this reason, it is best to first play around with the aperture and shutter speed to lighten an image and use as little ISO as possible. The good news, however, is that cameras are getting a lot better and newer ones create less grain at higher ISOs.
Here are my examples using three images of the same scene side-by-side.
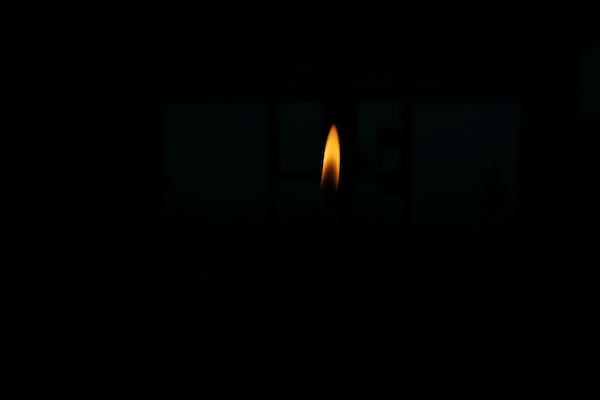 ISO 100 1/1250 F5.6 | 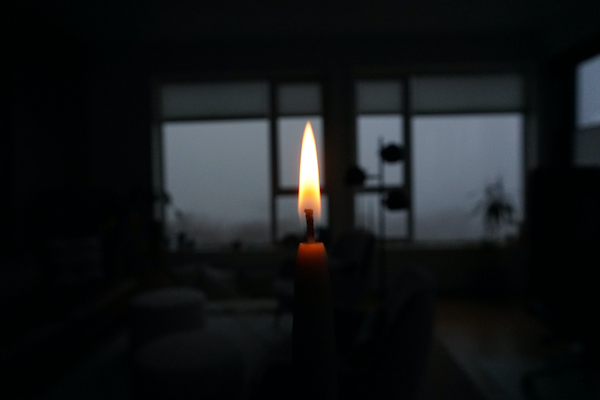 ISO 1600 1/1600 F5.6 | 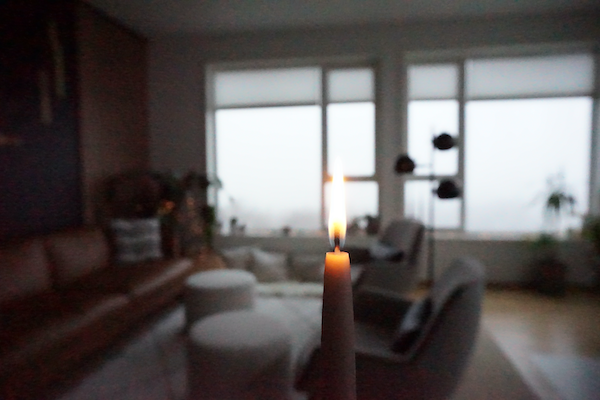 ISO 25600 1/1250 F5 |
Individually:
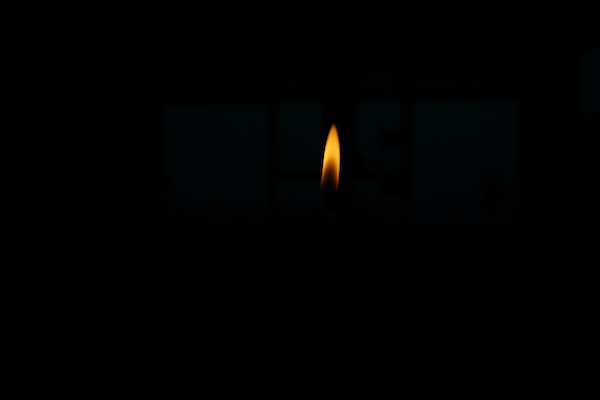
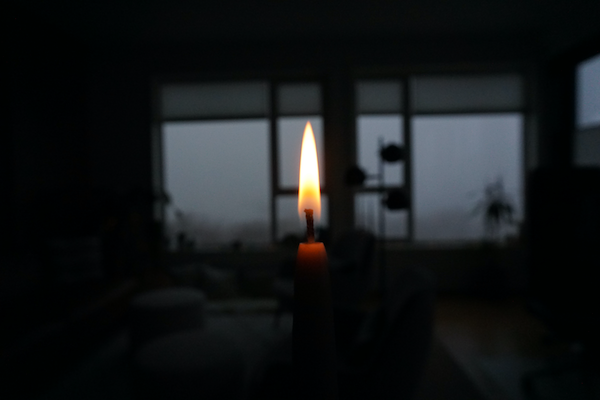
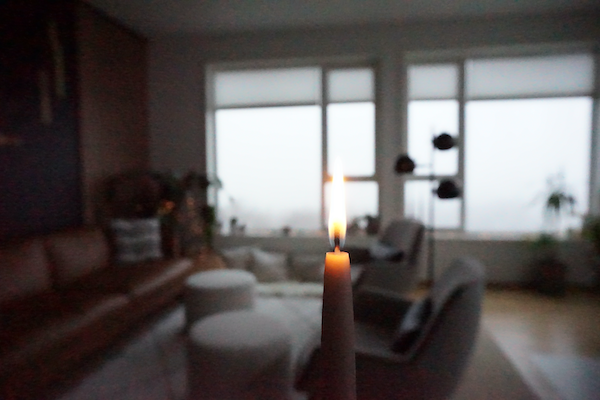
I was not sure if we could adjust other settings or not while changing the ISO, but I assumed it would show the impact of the various ISO settings better if I used the same/similar setting of aperture and shutter speed for the images.
ISO 100 – very dark image, only the candle light appears in the image, not grainy
ISO 1600 – dark image, but some of the background is seen, a bit more grainy than the previous image
ISO 25600 – more of the background is seen and the candle light looks almost white. the image is very grainy.
Aperture
Aperture is the opening in a lens where light passes through. We can set how big or small (wide/narrow) we want it to be during a shot. It works like the pupil of our eyes. When we are in dark light, our pupils open wide, when we are in bright light, it shrinks. The same is true for aperture. When there is a lot of light, it only needs to open a tiny bit, but when there is not much light, it should be opened wider to let more light in. The measurment used for this is called f stop. It’s always been confusing to me why the numbers get smaller when the opening is bigger and vice versa, but now I understand that these numbers are fractions. So the smaller the fraction, the larger the end result is. So in math it would work like this: 24/2 is 12, 24/8 is 3. The end results 12 and 3 represent the size of the opening.
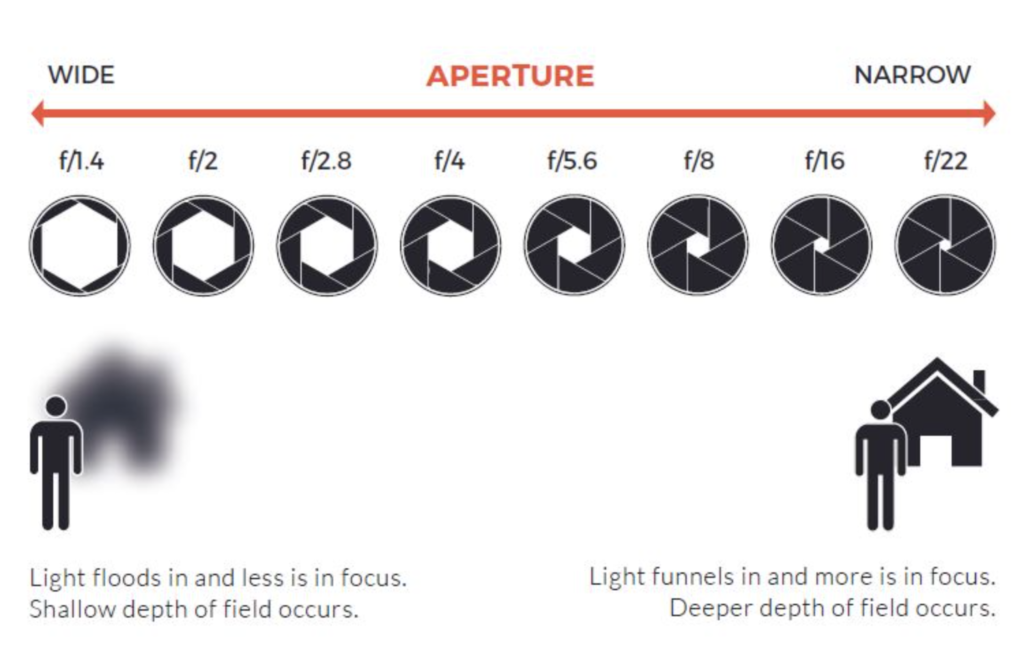
Aperture also affects depth of field. As we can see on the image above, the wider the aperture the more blurry the background gets, making the subject of our image the focal point, hence creating what is called a shallow depth of field. This is great any time we want the focal point to stand out without any distractions, for example when taking portraits or photographing a nice plate of pasta.
The same way, the narrower the aperture, the more detail we can capture. For example at f/22, the sorroundings are just as sharp as our subject, creating a deeper depth of field. This is good for landscape images, city photography, etc.
Three images of the same scene side-by-side:
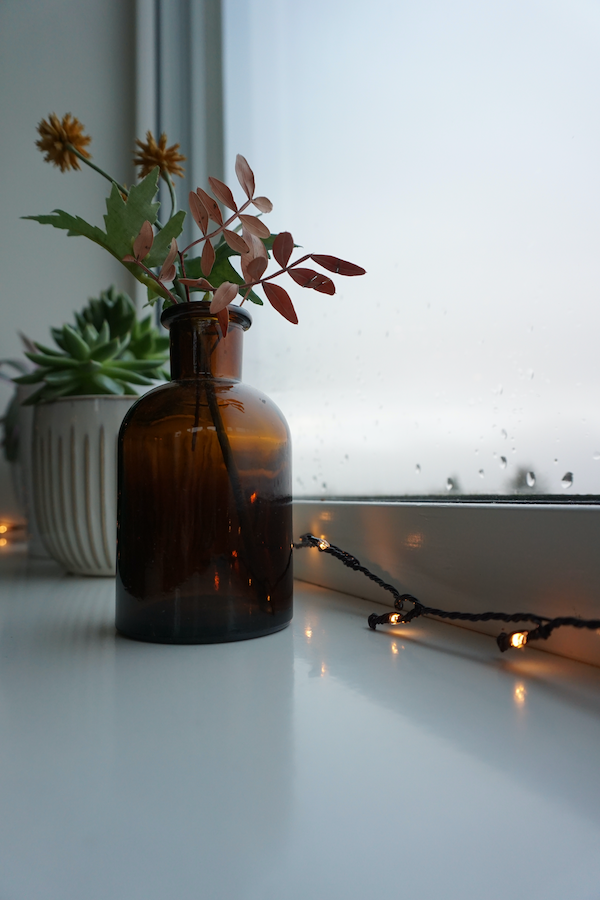
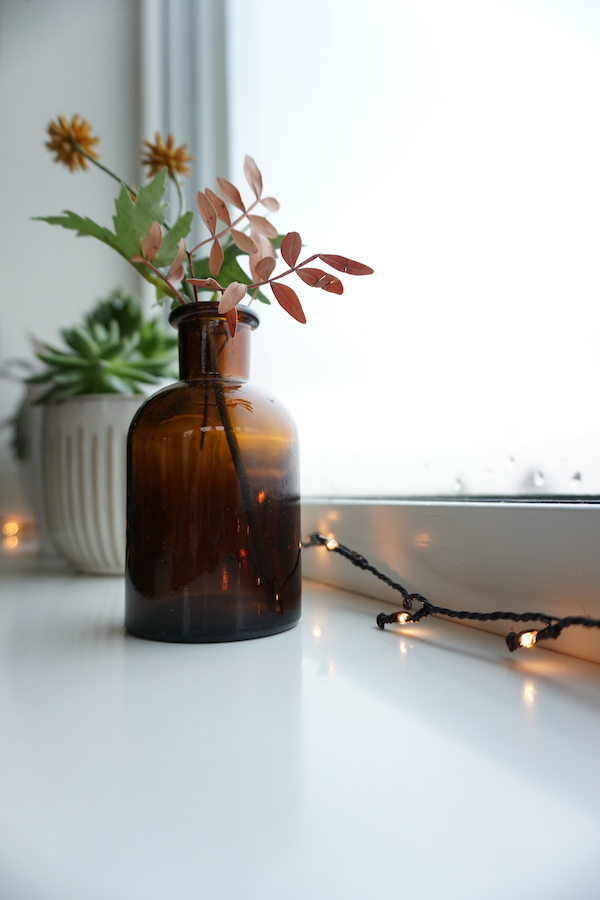
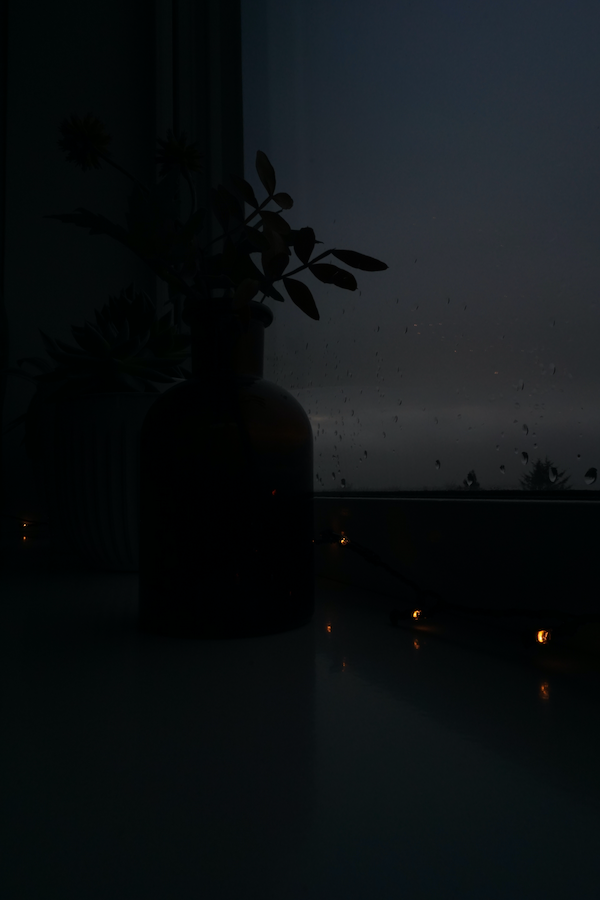 F22 1/50 ISO 500 | 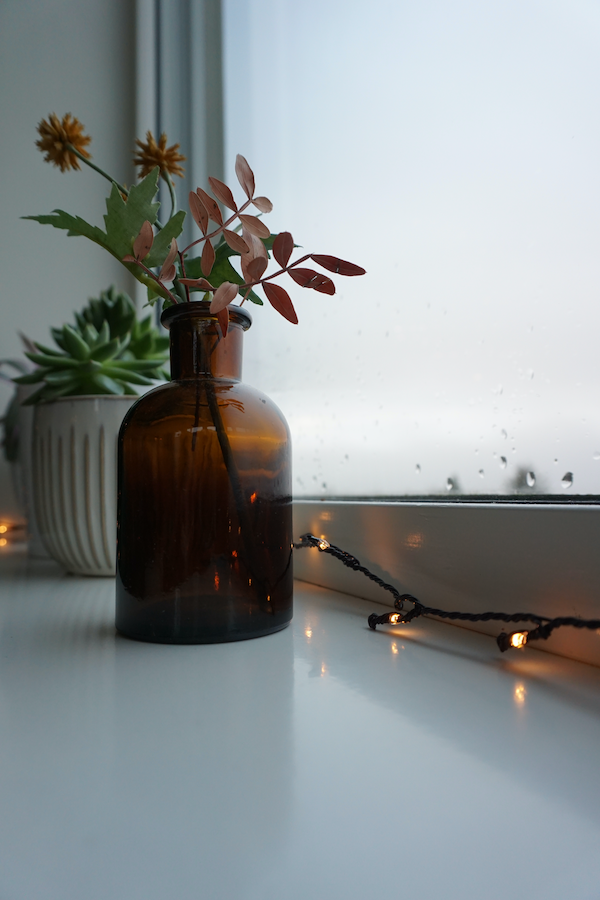 F5.6 1/50 ISO 500 | 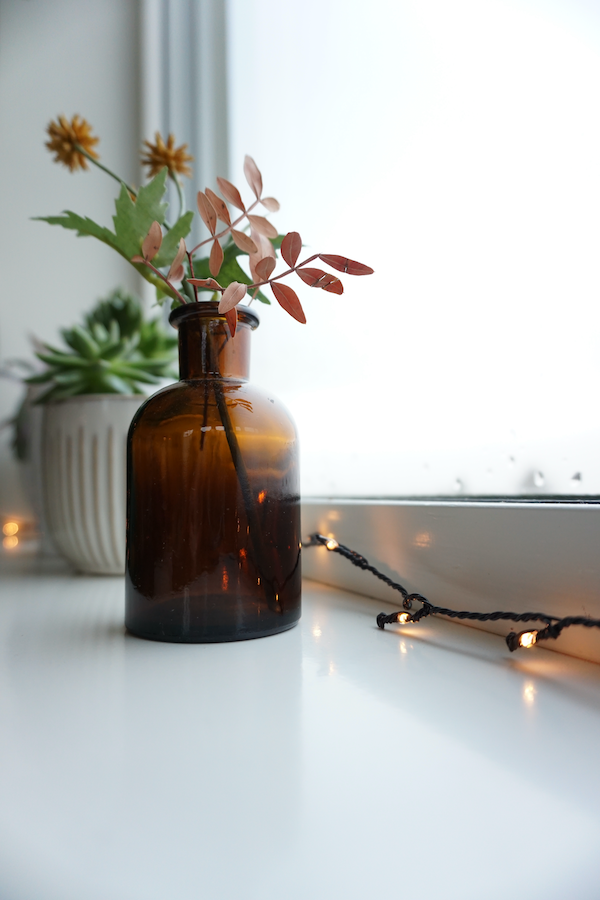 F3.5 1/50 ISO 500 |
Individually:
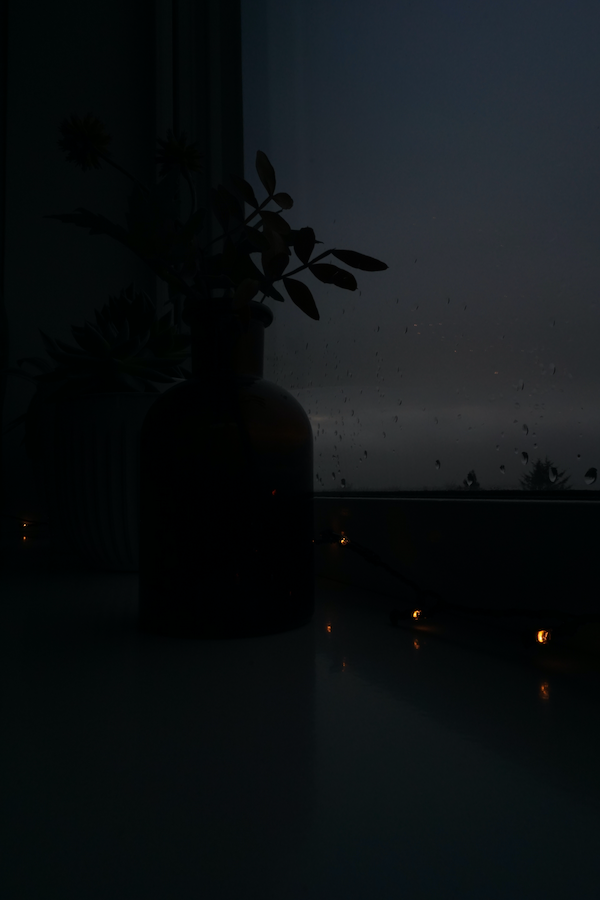
F22 – very dark image as not much light is being let in
F5.6 – this image is much better, but still too dark, the background is slightly blurred.
F 3.5 – this image is more ideal when it comes to lighting. Also, the background is more blurred than in the previous image. (We were asked to try F1.4 but this was my lowest possible setting.)
Shutter Speed
This is the speed of the shutter closing. When it closes fast, the image is captured very quickly, so it freezes the moment. This is good when we want to get a sharp and clear image of a very specific moment, especially when our object is moving (catching a moment of a person in mid-air, running, all sports, etc.). This also means that there is not much time for light to come in, so the aperture would need to be adjusted accordingly.
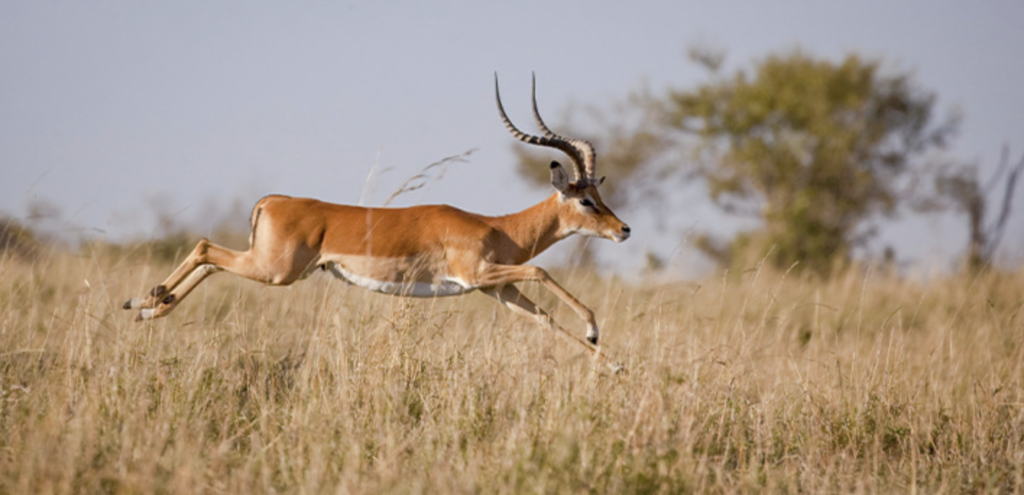
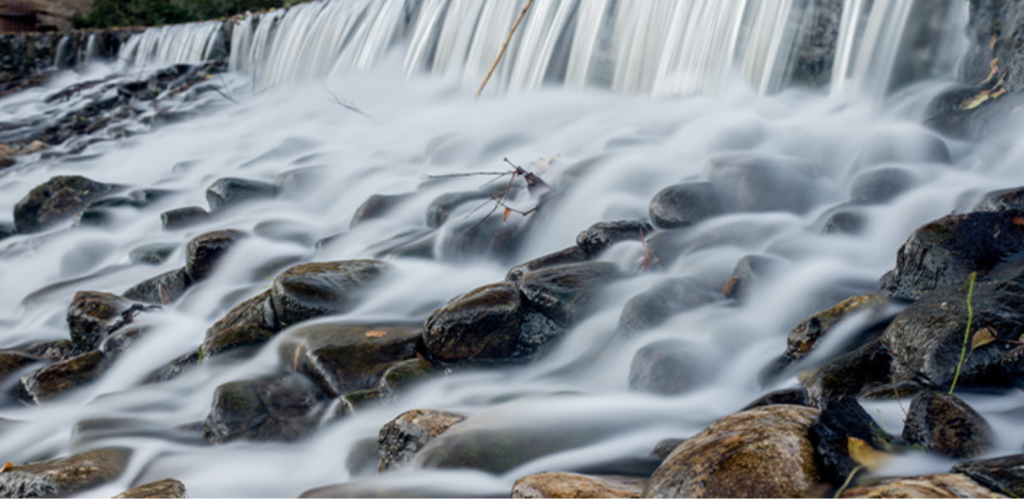
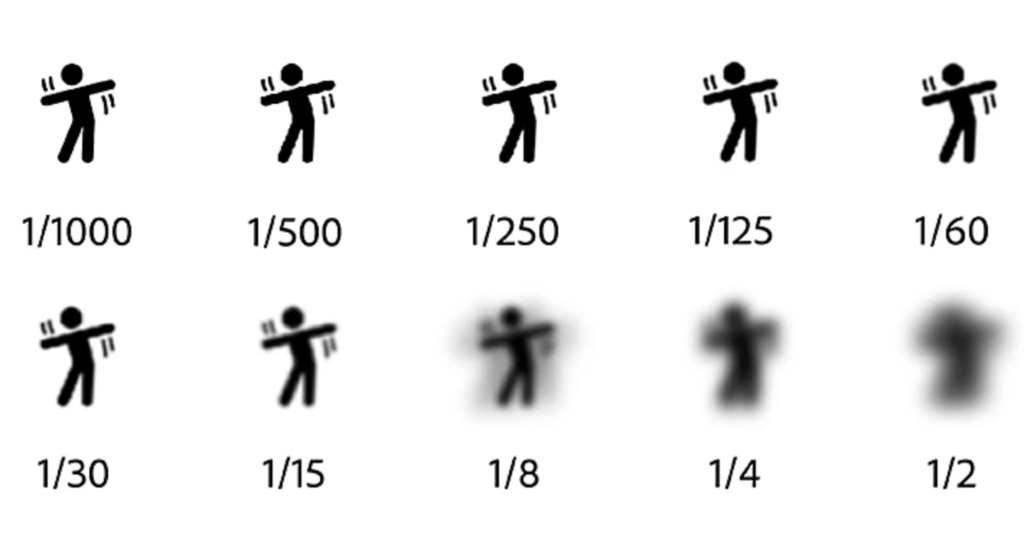
When the shutter shuts slow, the image gets blurred/smeared because the camera records the whole time the shutter is open, so instead of getting just a moment, it gets a sequence in one image. This can be good or bad, depending on what we want to capture. Even in sports, in can be good at times because it can show speed. In nature, this is good for making water look silky. In night photos, this can turn the movement of traffic into neon light streaks. A lower shutter speed means more light coming in as well, so again, the aperture would need to be adjusted accordingly. To take a good shot at a slow shutter speed, it is also important to avoid any camera shake, so a tripod (or other solid surface to rest the camera on) is essential.
Three images of the same scene side-by-side:
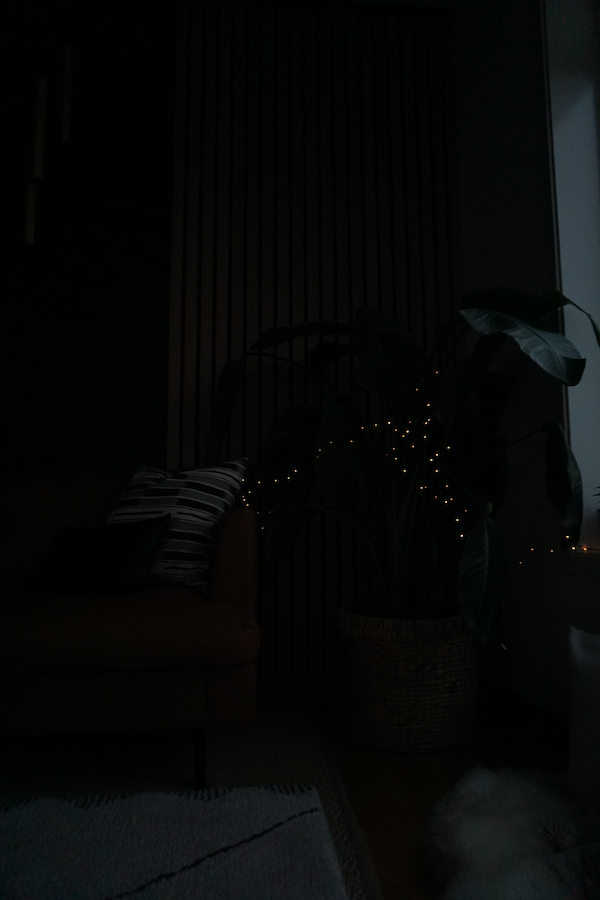 1/1000 F3.5 ISO 2000 | 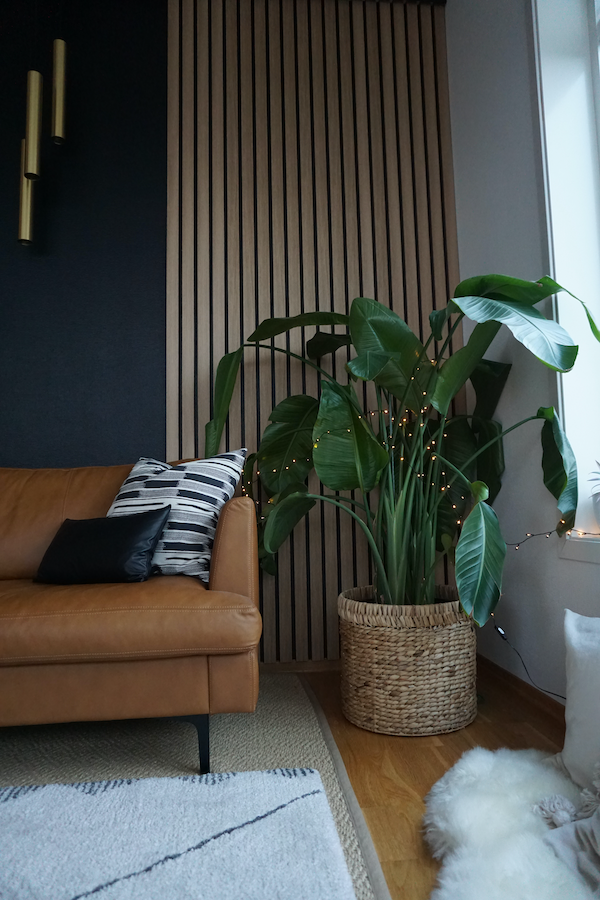 1/60 F3.5 ISO 2000 |  1/4 F3.5 ISO320 ISO 2000 |
Individually:
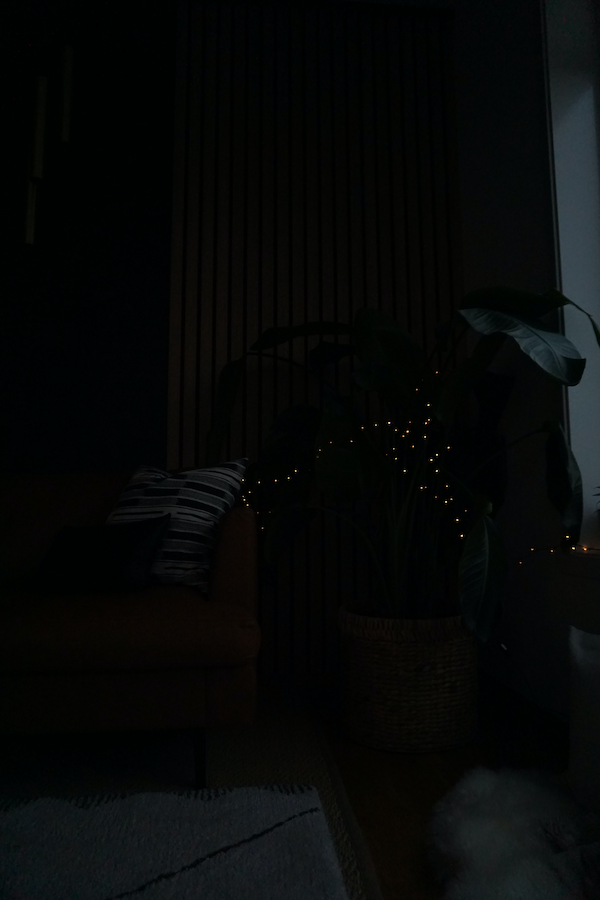

1/1000 – dark image, there wasn’t enough natural light for this fast shutter speed
1/60 – this is much better, still slightly dark, but more ideal
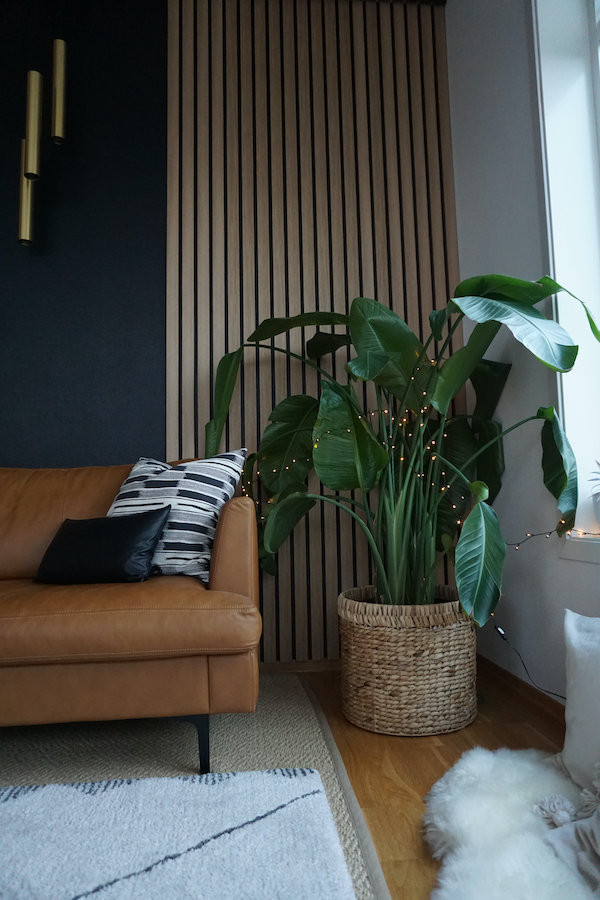
1/4 – the image is overexposed, way too much light is coming in, it also looks a bit blurry.
Perhaps taking shots of a movement would have been better here, so I might add that later.
These shots are not ideal because I would normally change the other settings as well in order to make the shutter speed work, but I was not sure if that was okay for this assignment as the point was showing the differences for each setting.


No responses yet